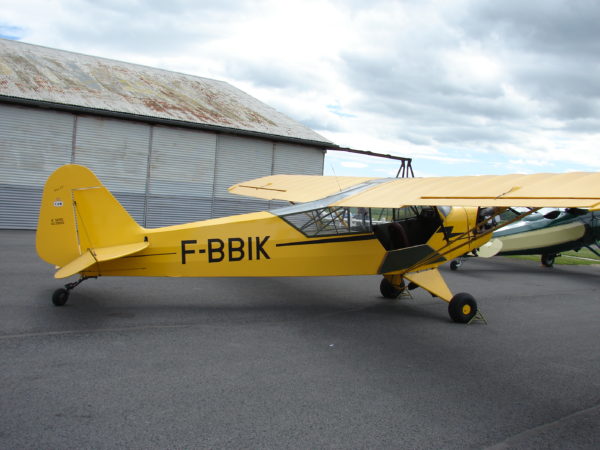
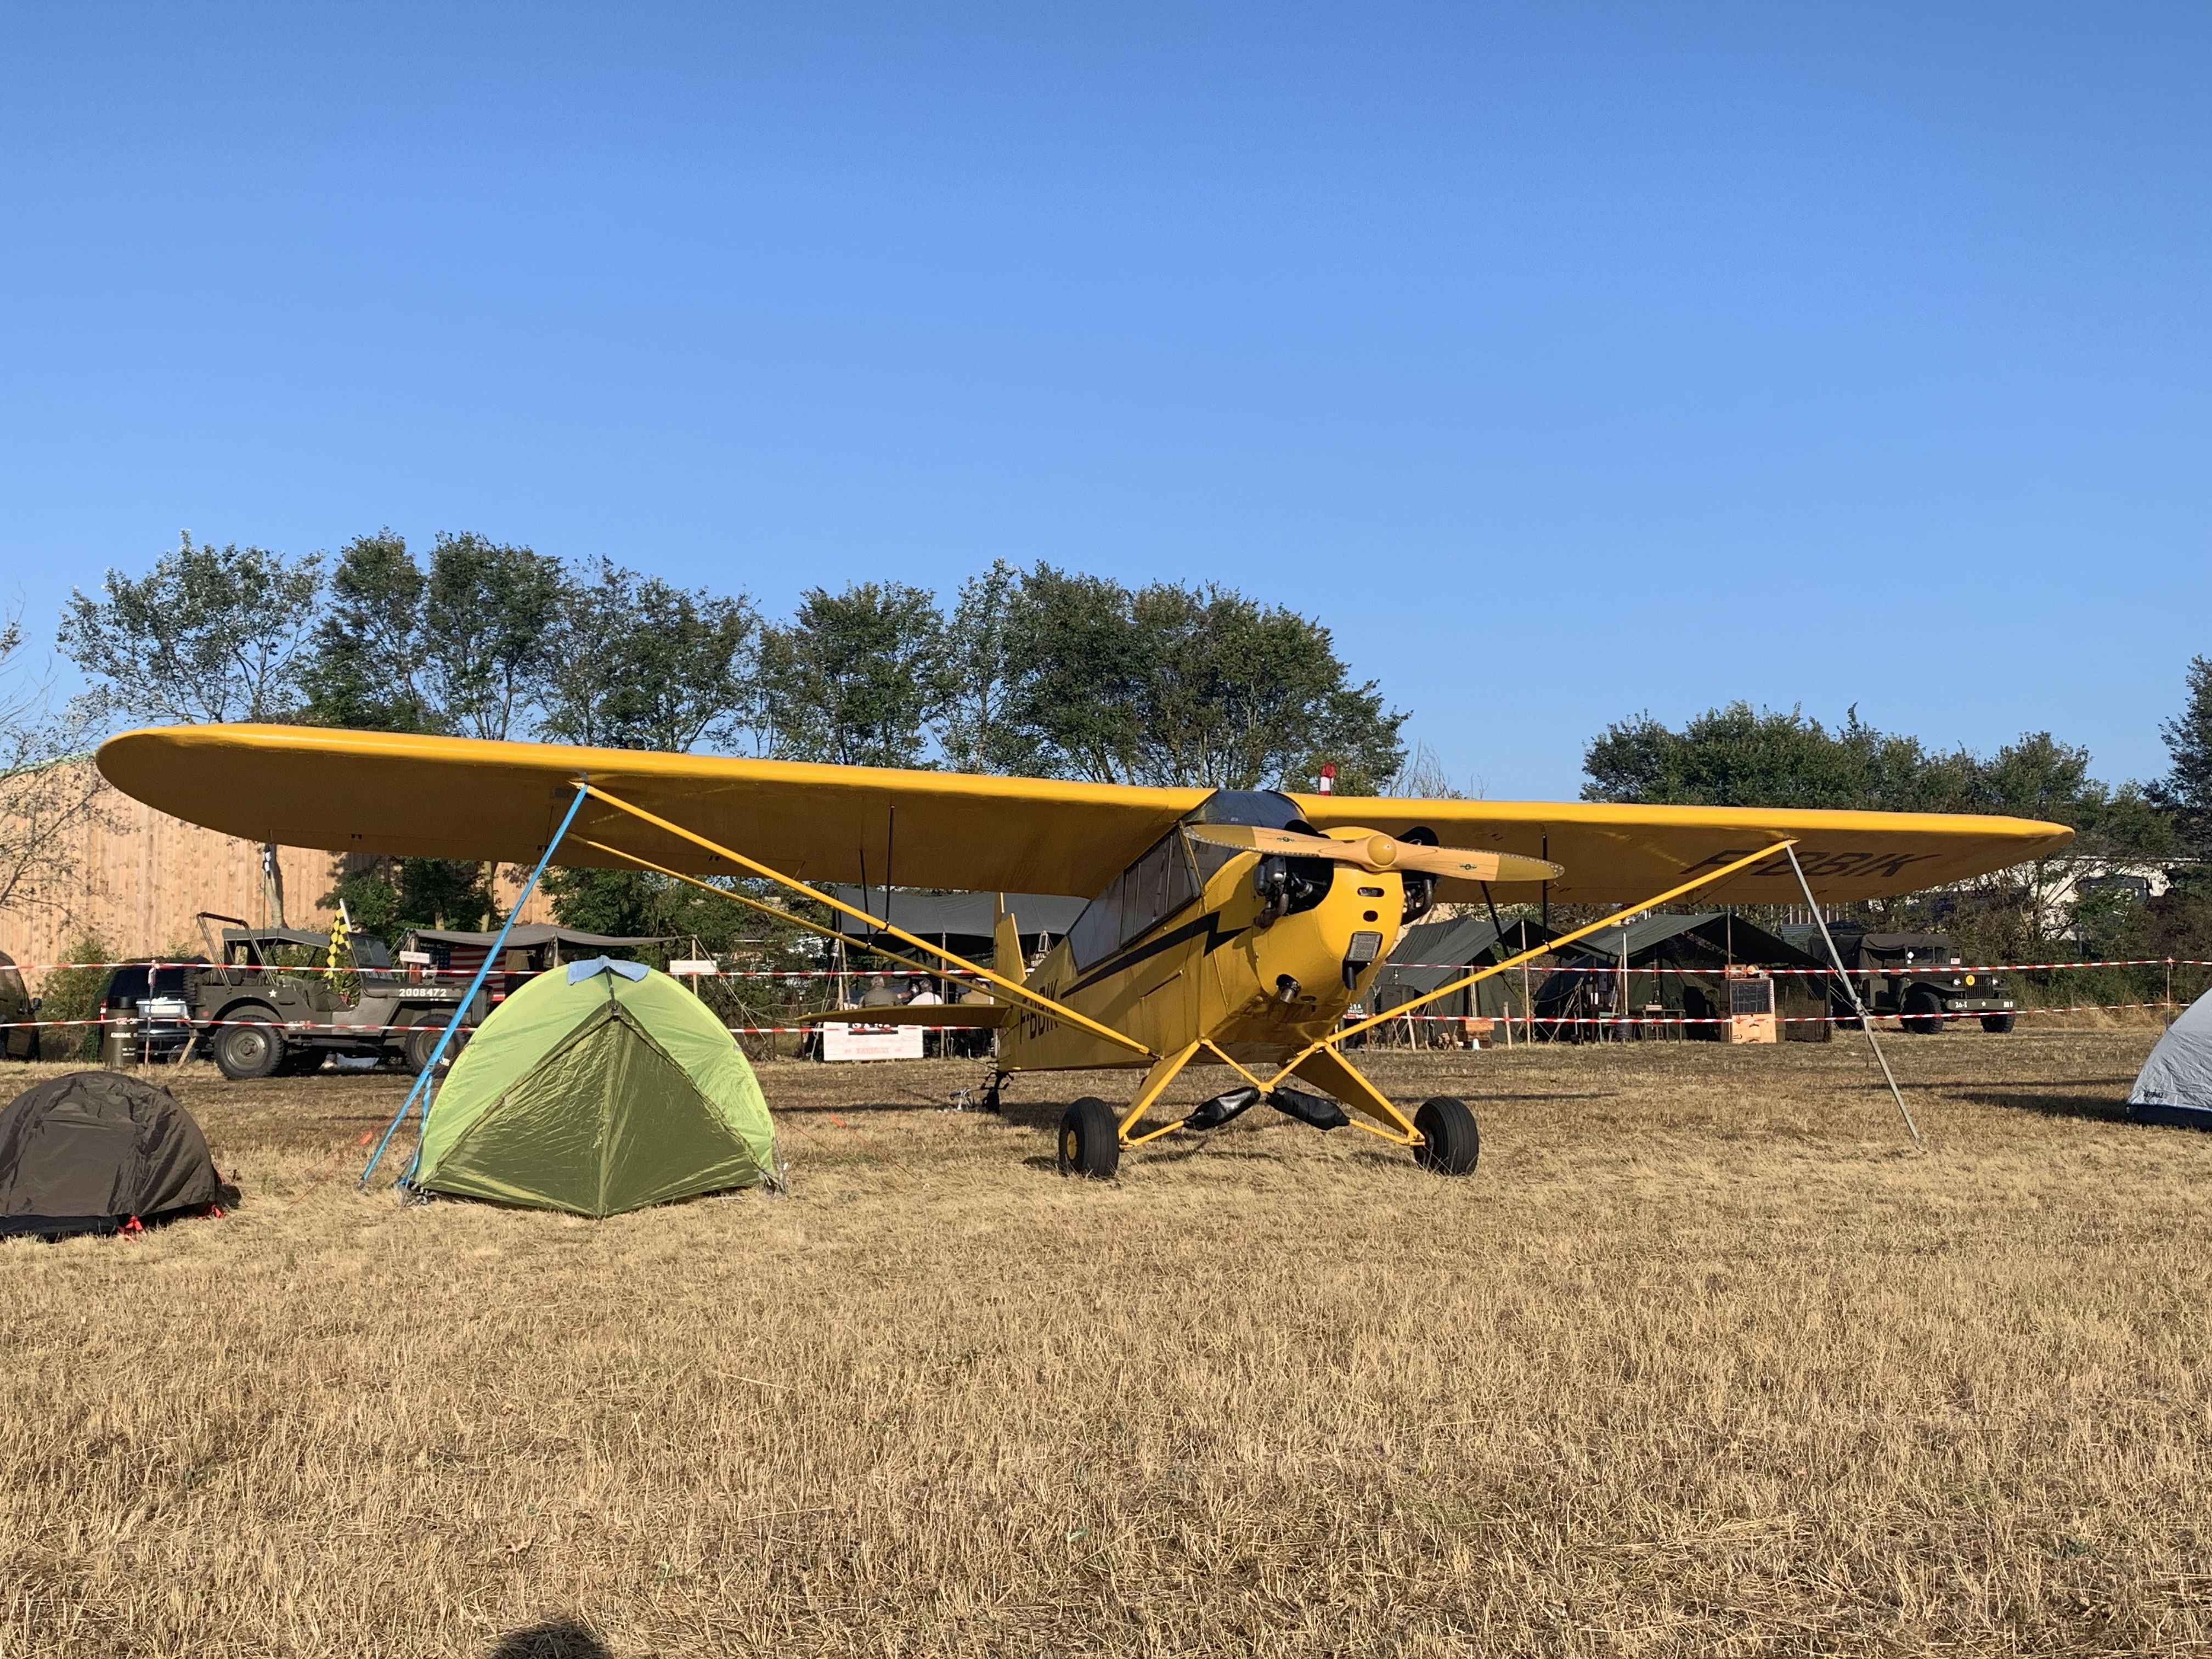
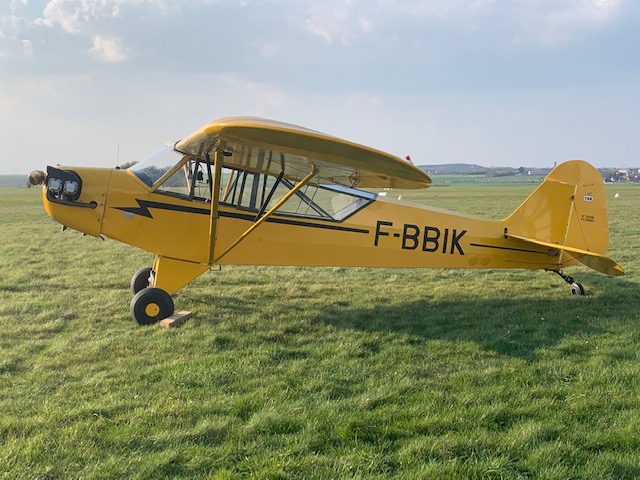
The Piper L4 is a military version of the Piper Cub – the “L” standing for liaison. They were used for scouting, delivery of mail and movement of personnel behind enemy lines.
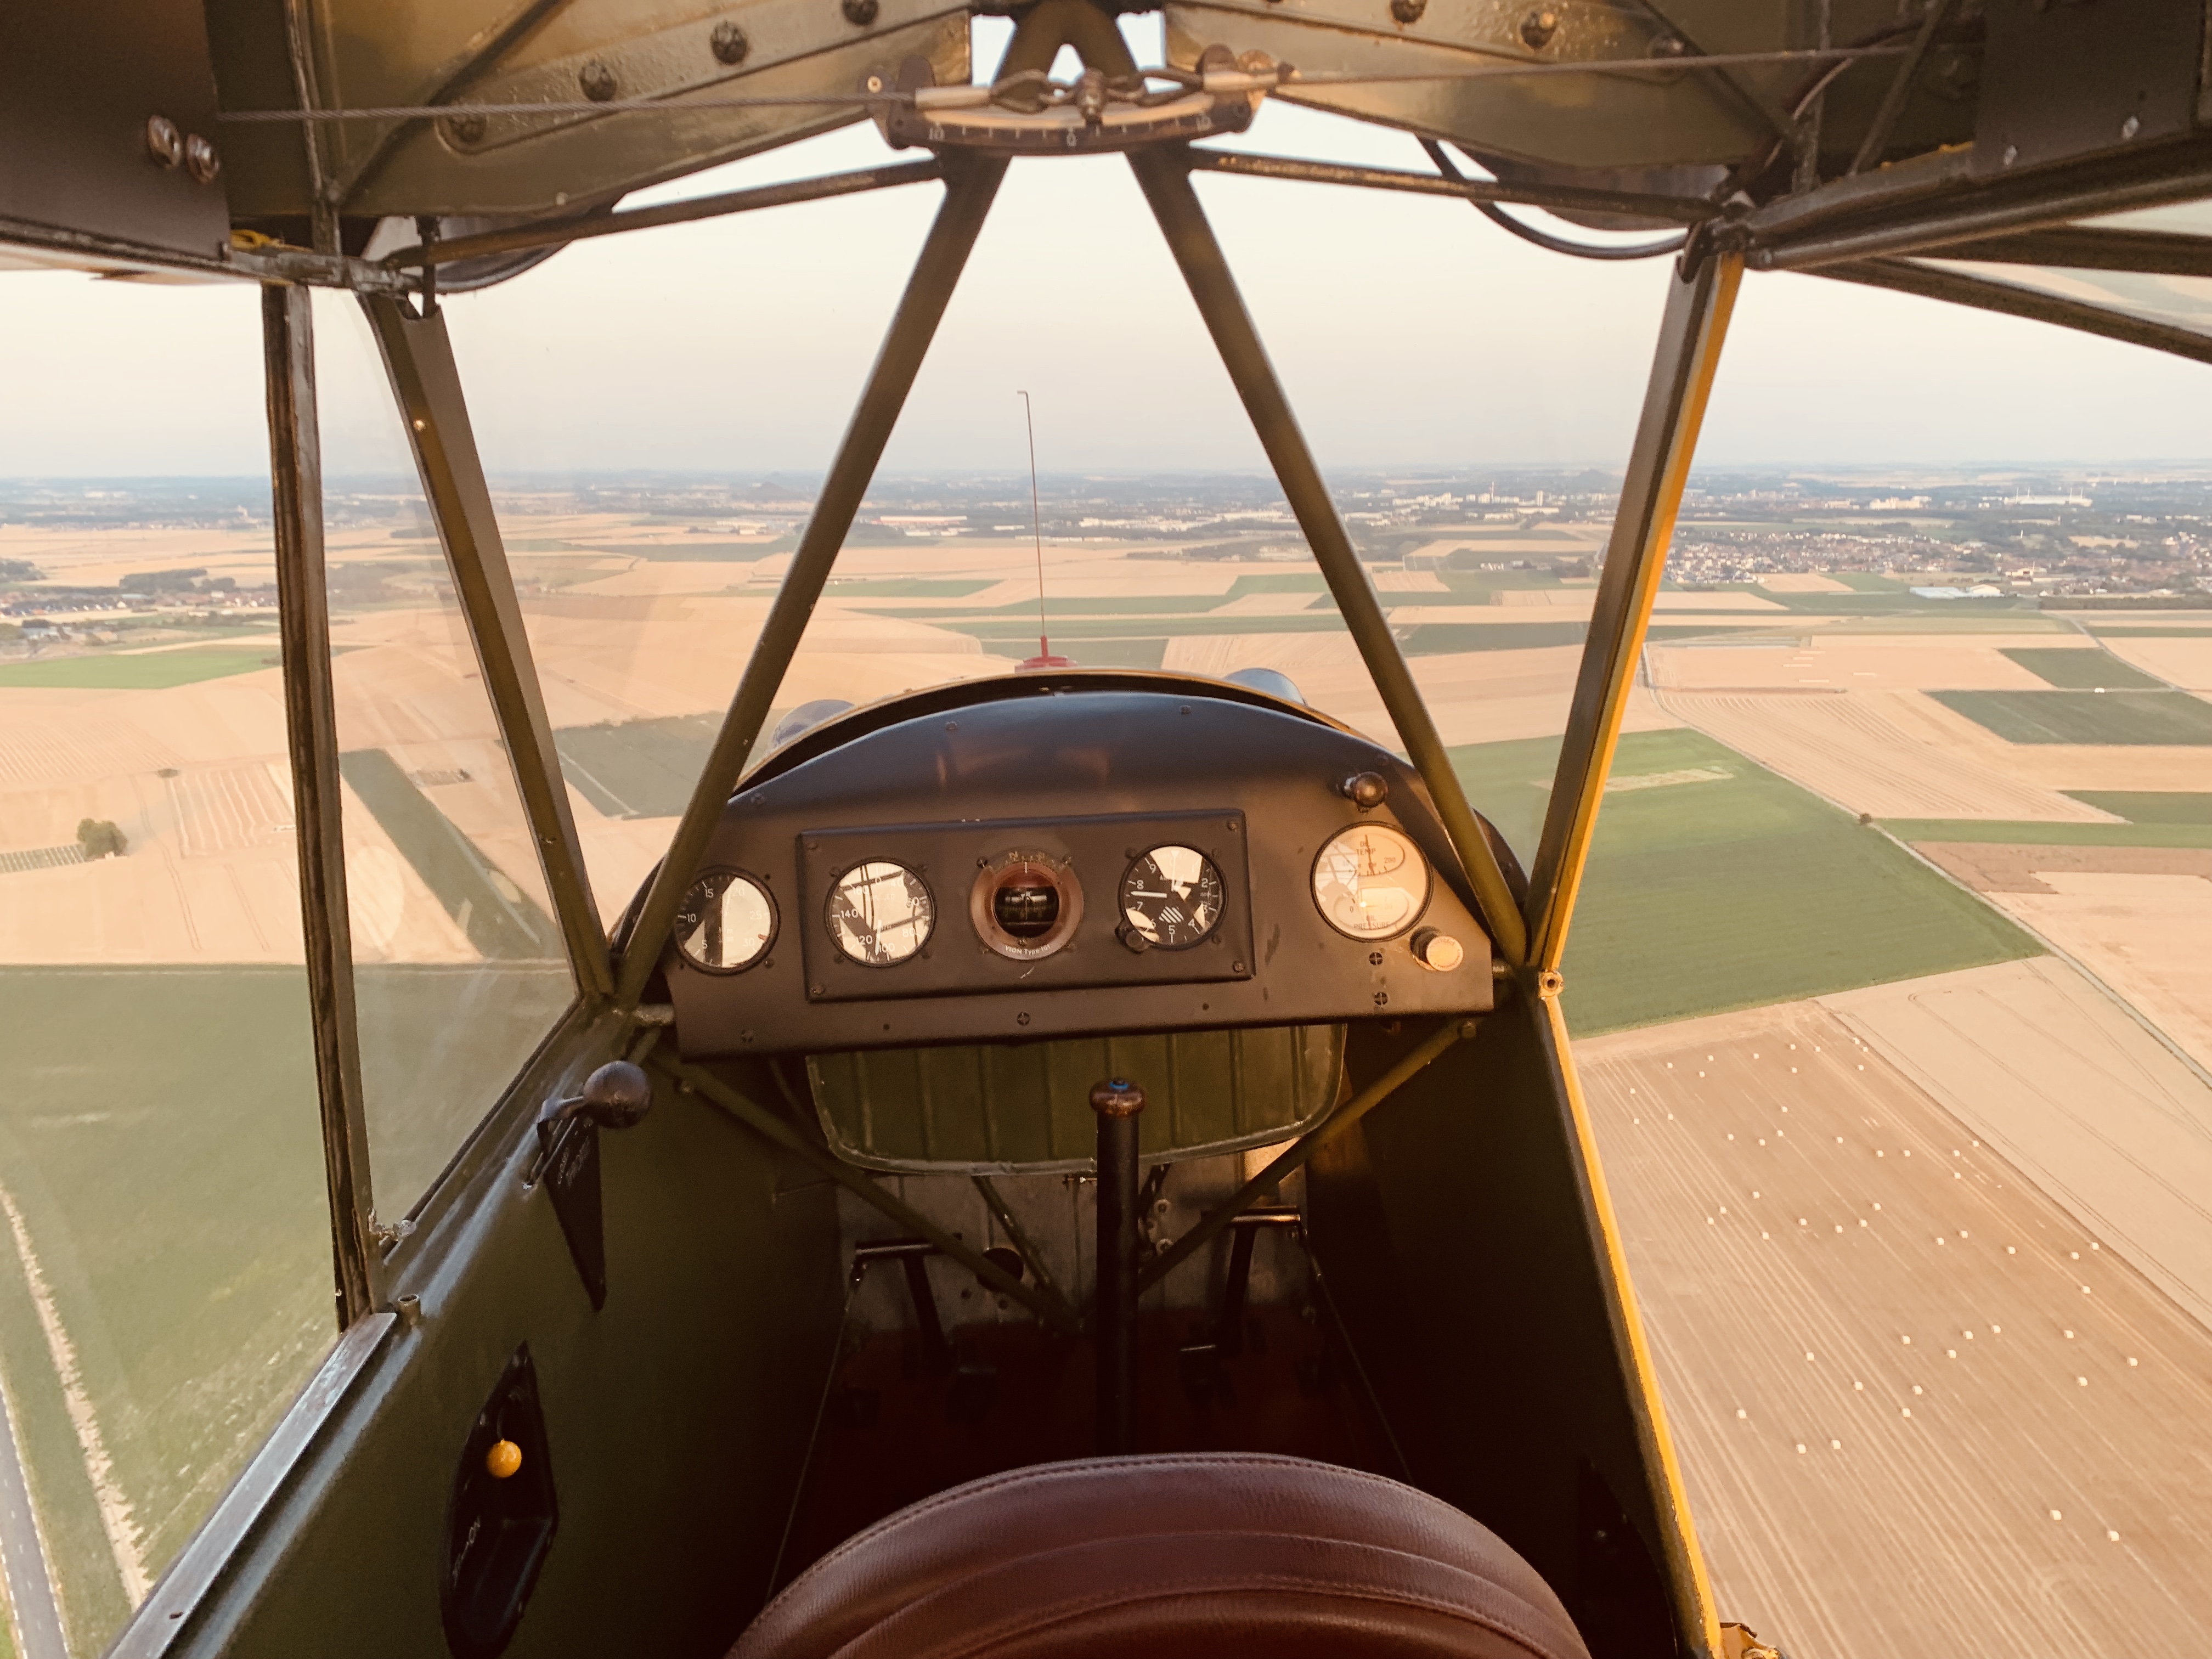
In it’s original configuration the pilot sat in the front seat with the observer sitting on a sling facing backwards looking out the extended windows of the L4.
Plane built in 1943 and released from the military register in 1954, known since history.
br>
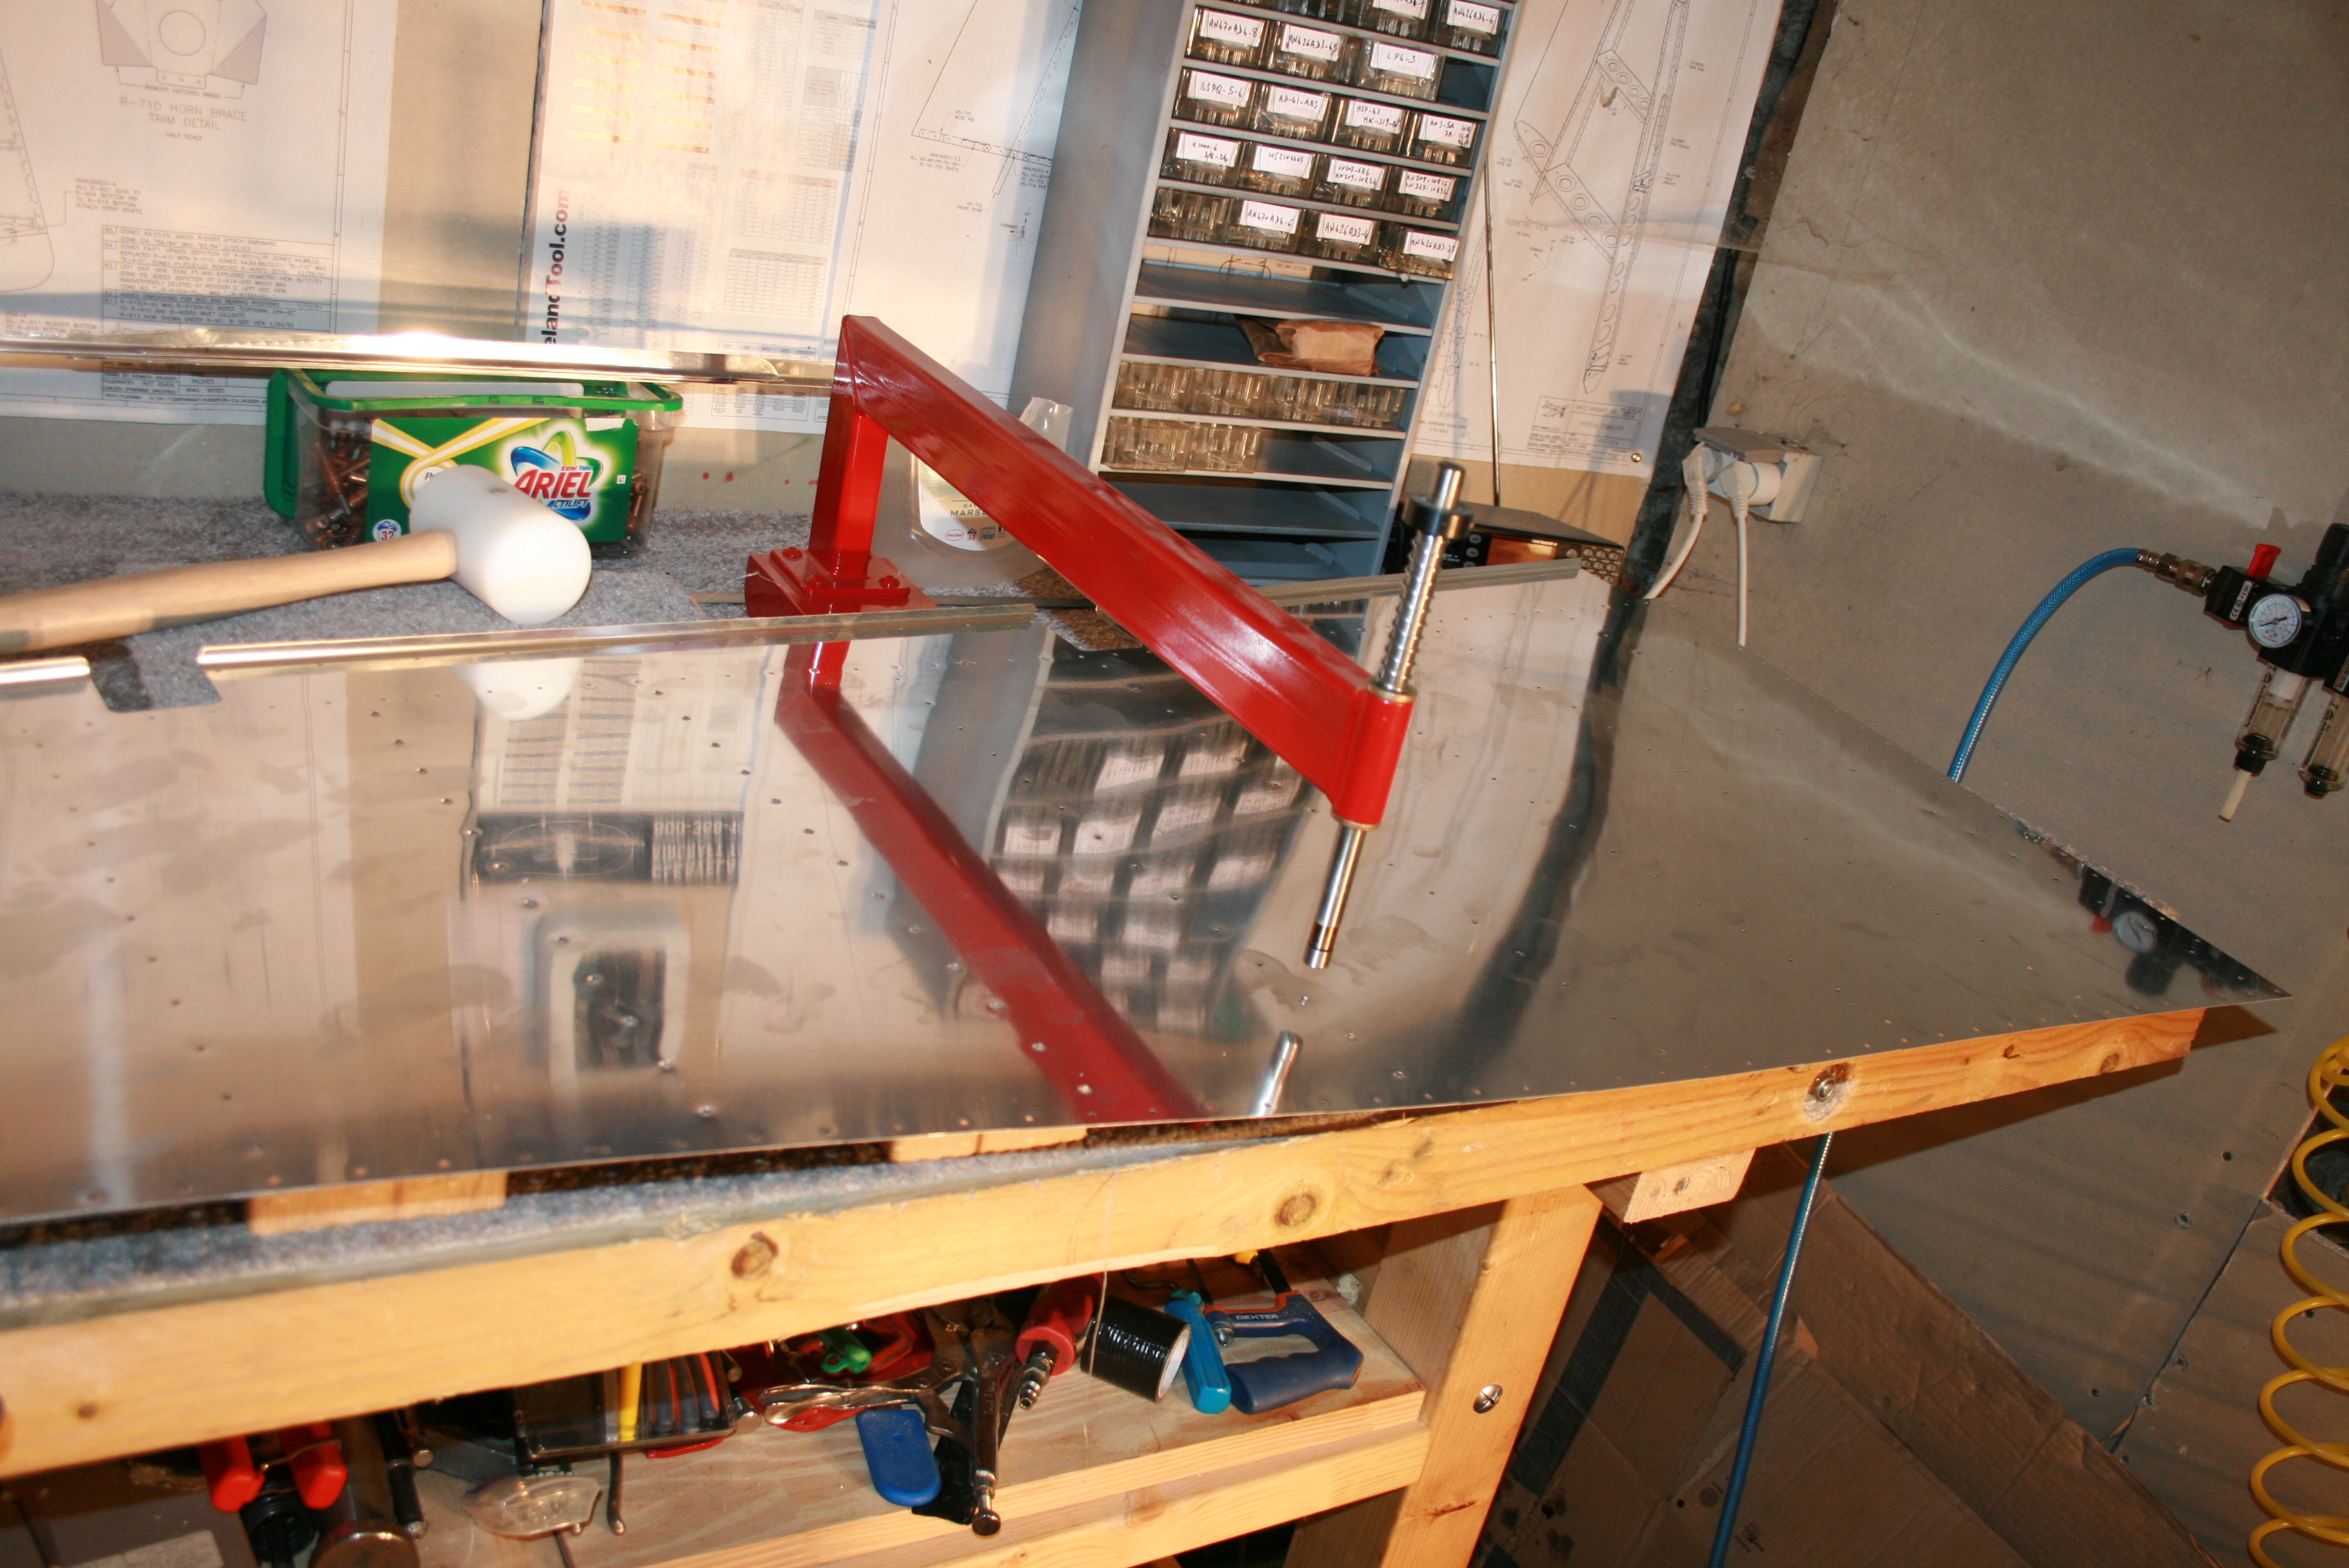
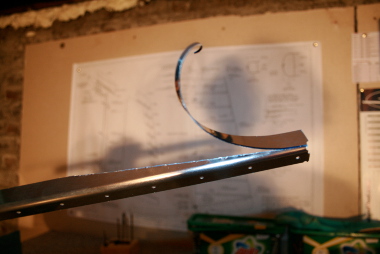
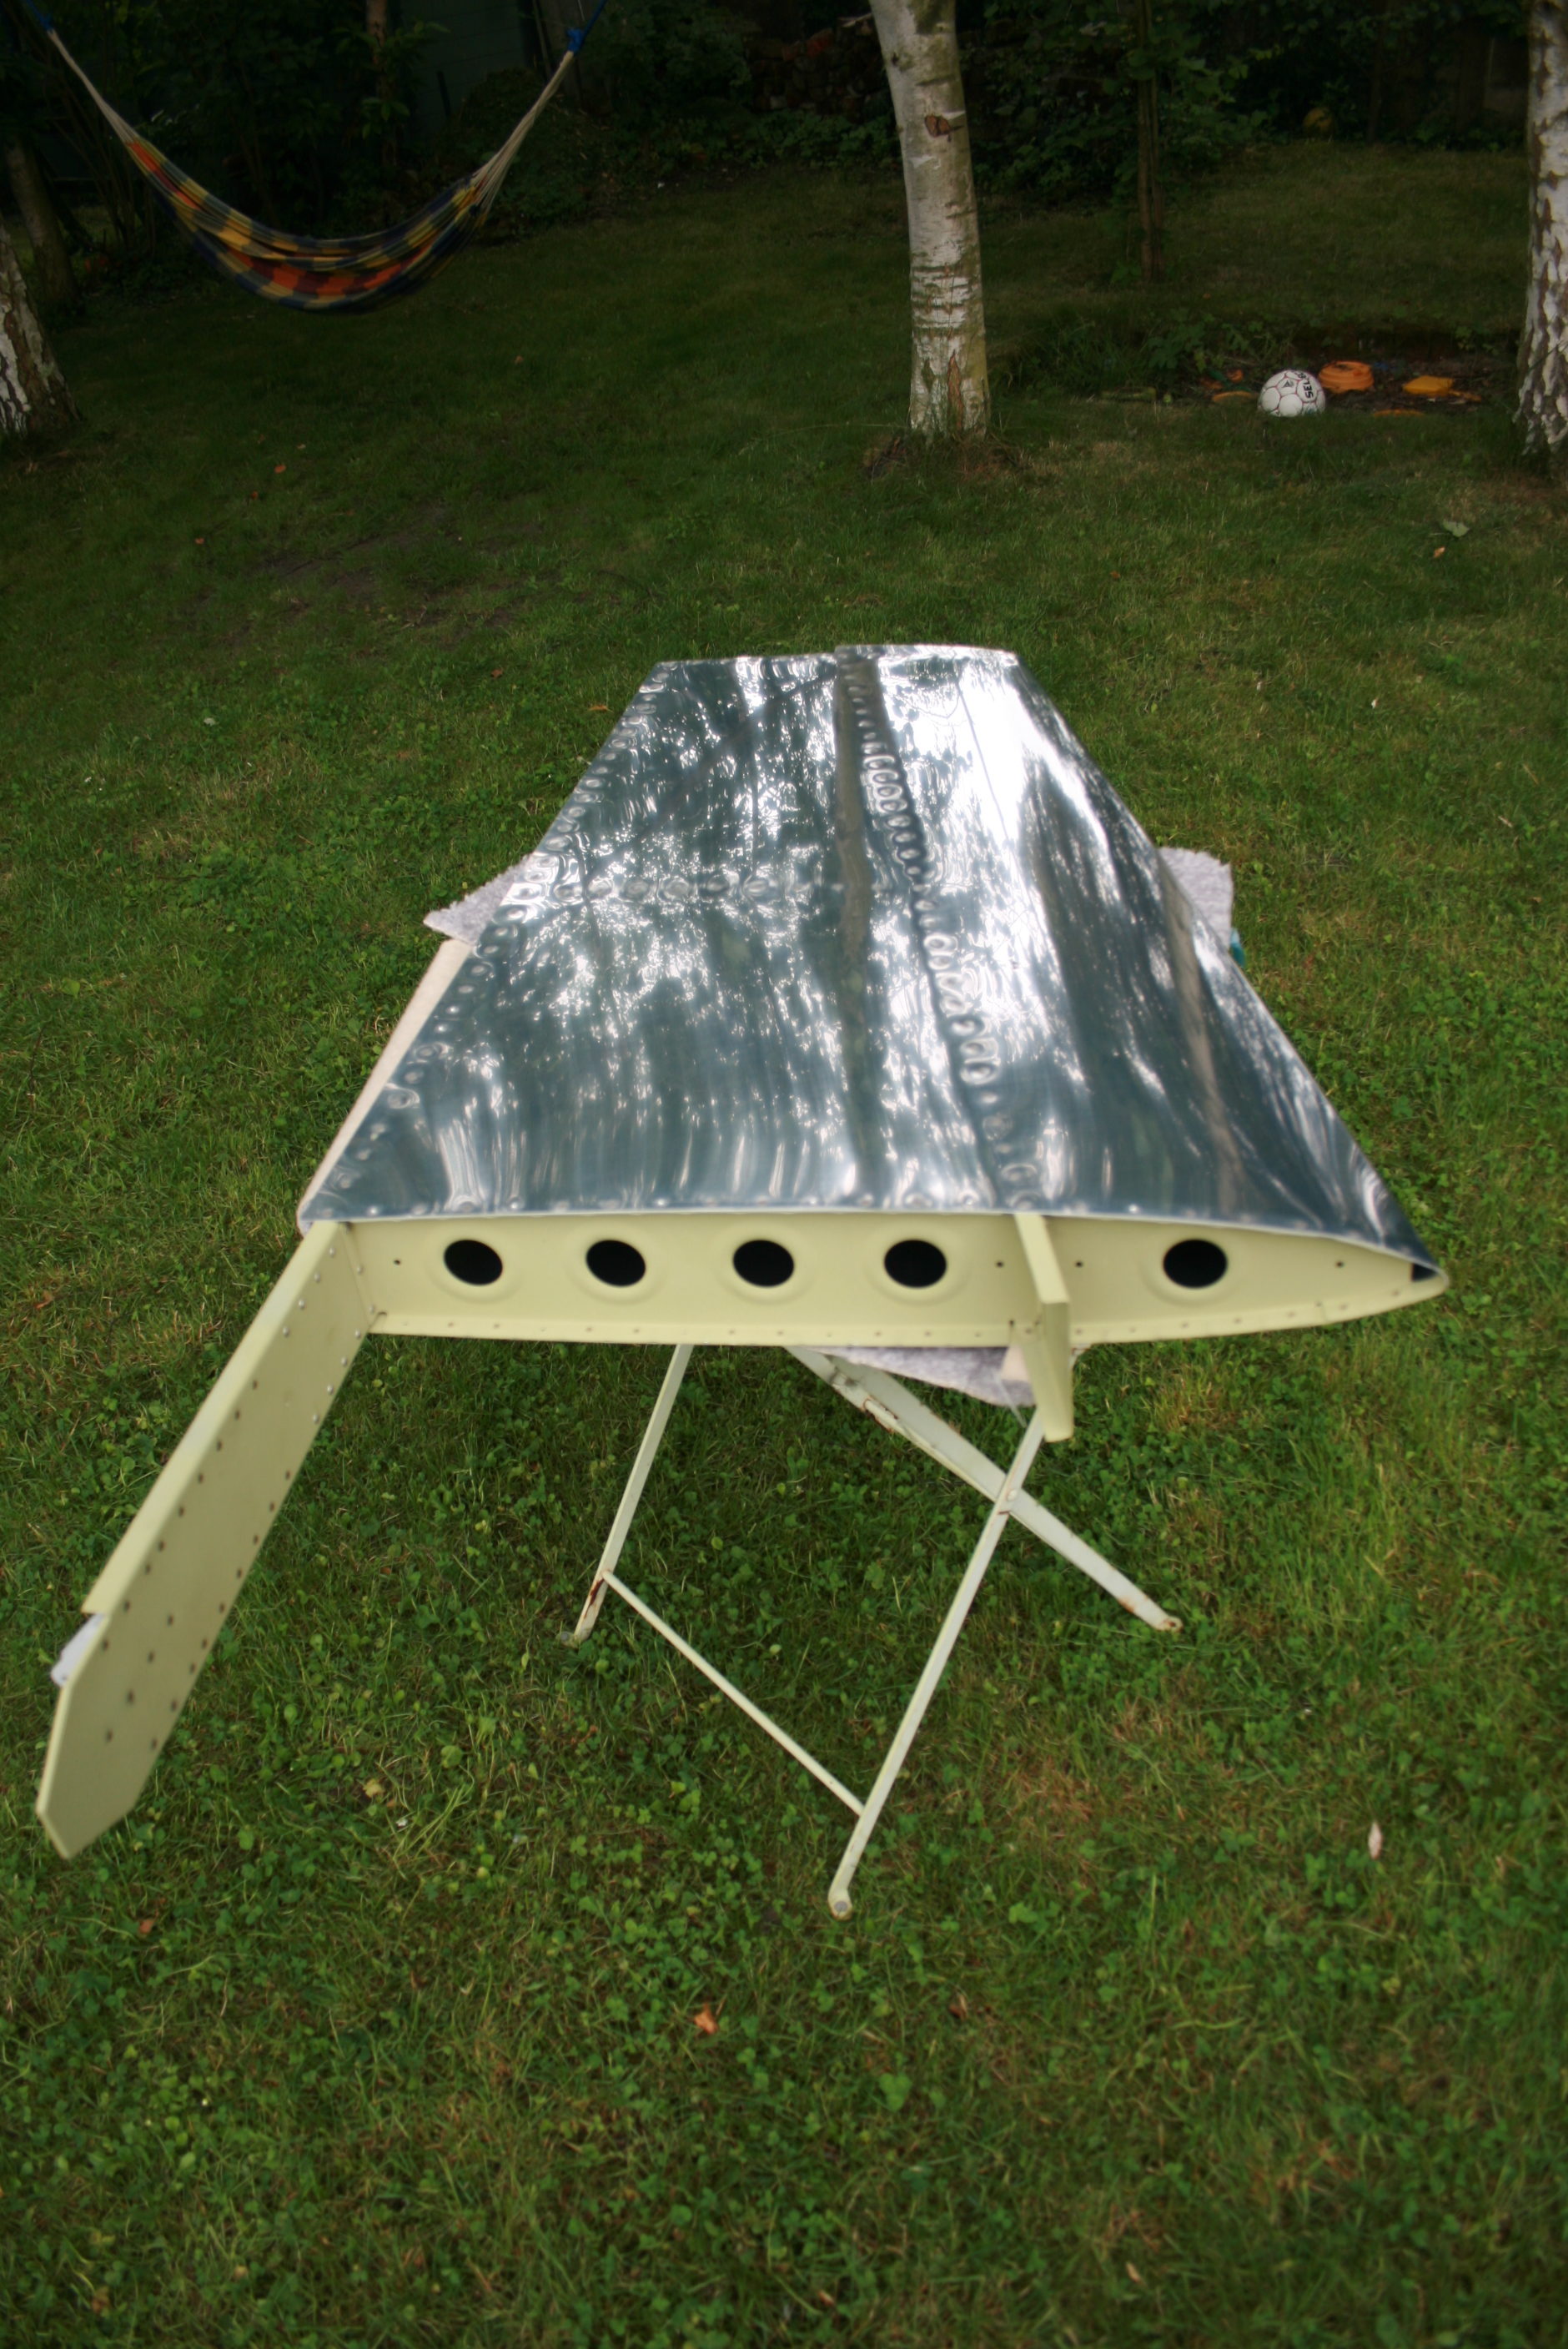
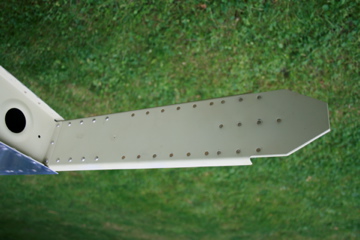
The RV7 rudder skin is extremely thin : it must be handled with care and also to pay attention to the preparation of aluminum.
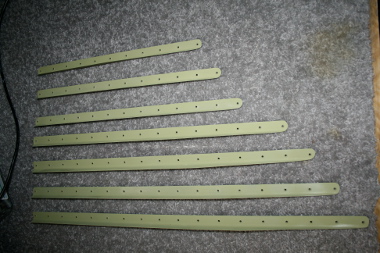
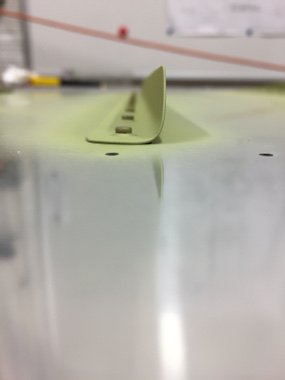
The skin is reinforced with stiffeners need to cut through 1/3 of the length , round the edges , being careful to respect the distance edge with the holes.
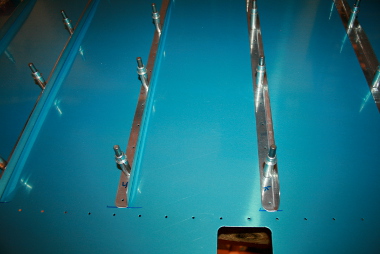
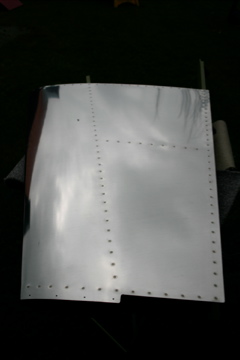
Once the stiffeners cut & deburred they are adjust with clecos on the skin. Time to drill the holes size 40. The skin is then deburred.
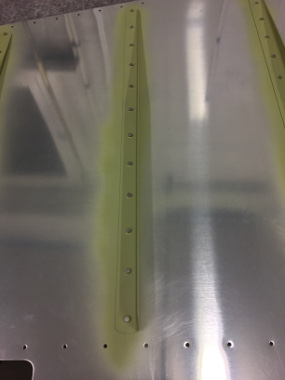
The skin is dimpled.
Stiffeners are dimpled , they are then completely flattened.
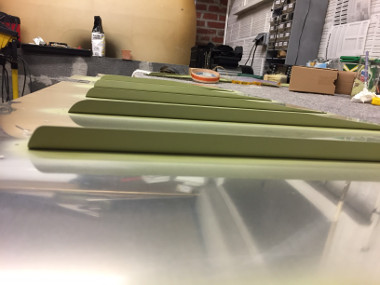
The whole is then painted with anti-corrosion.
Same operations with the second part of the skin after a long period of building inactivity due to:
– A moving,
– Work (some still in progress …)
– A major career change.
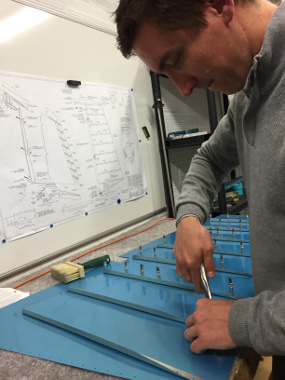
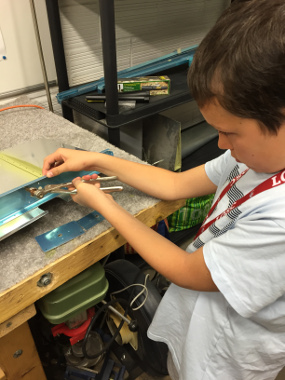
My son is motivated: the hole must be perpendicular to the skin so that it has the right size, isn’it Maxence!
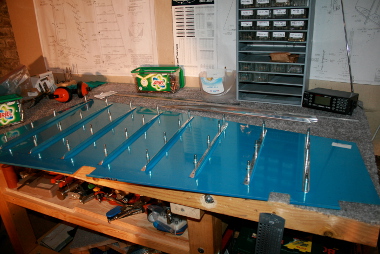
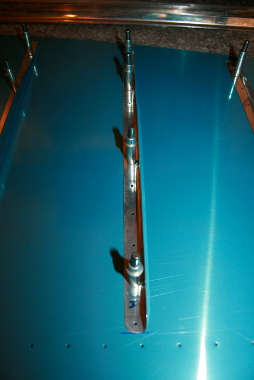
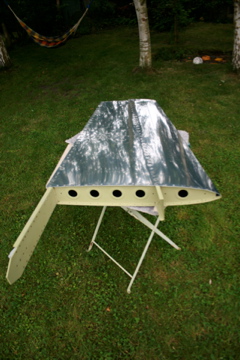
After playing with primer on the skin and the stiffeners: back riveting! Great result! Be careful not to over crush the rivets so that they are not too tight.
Even after a long inactivity period, no problem for the resumption provided that you have the right rivet gun pressure!
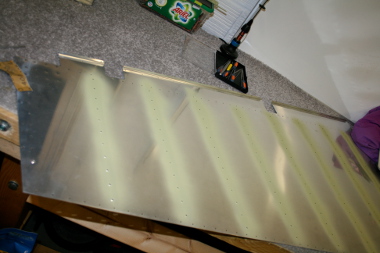
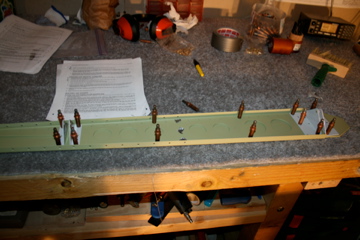
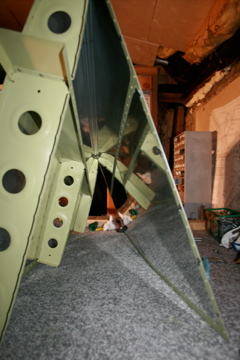
Assembling the skeleton of the rudder, no difficulty and even with a little help