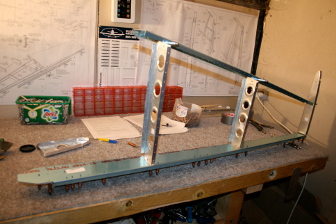
The method of construction of the vertical stabilizer is identical to the horizontal stabilizer :
Assembling the rear spar with its reinforcement and attachment points for the movable part
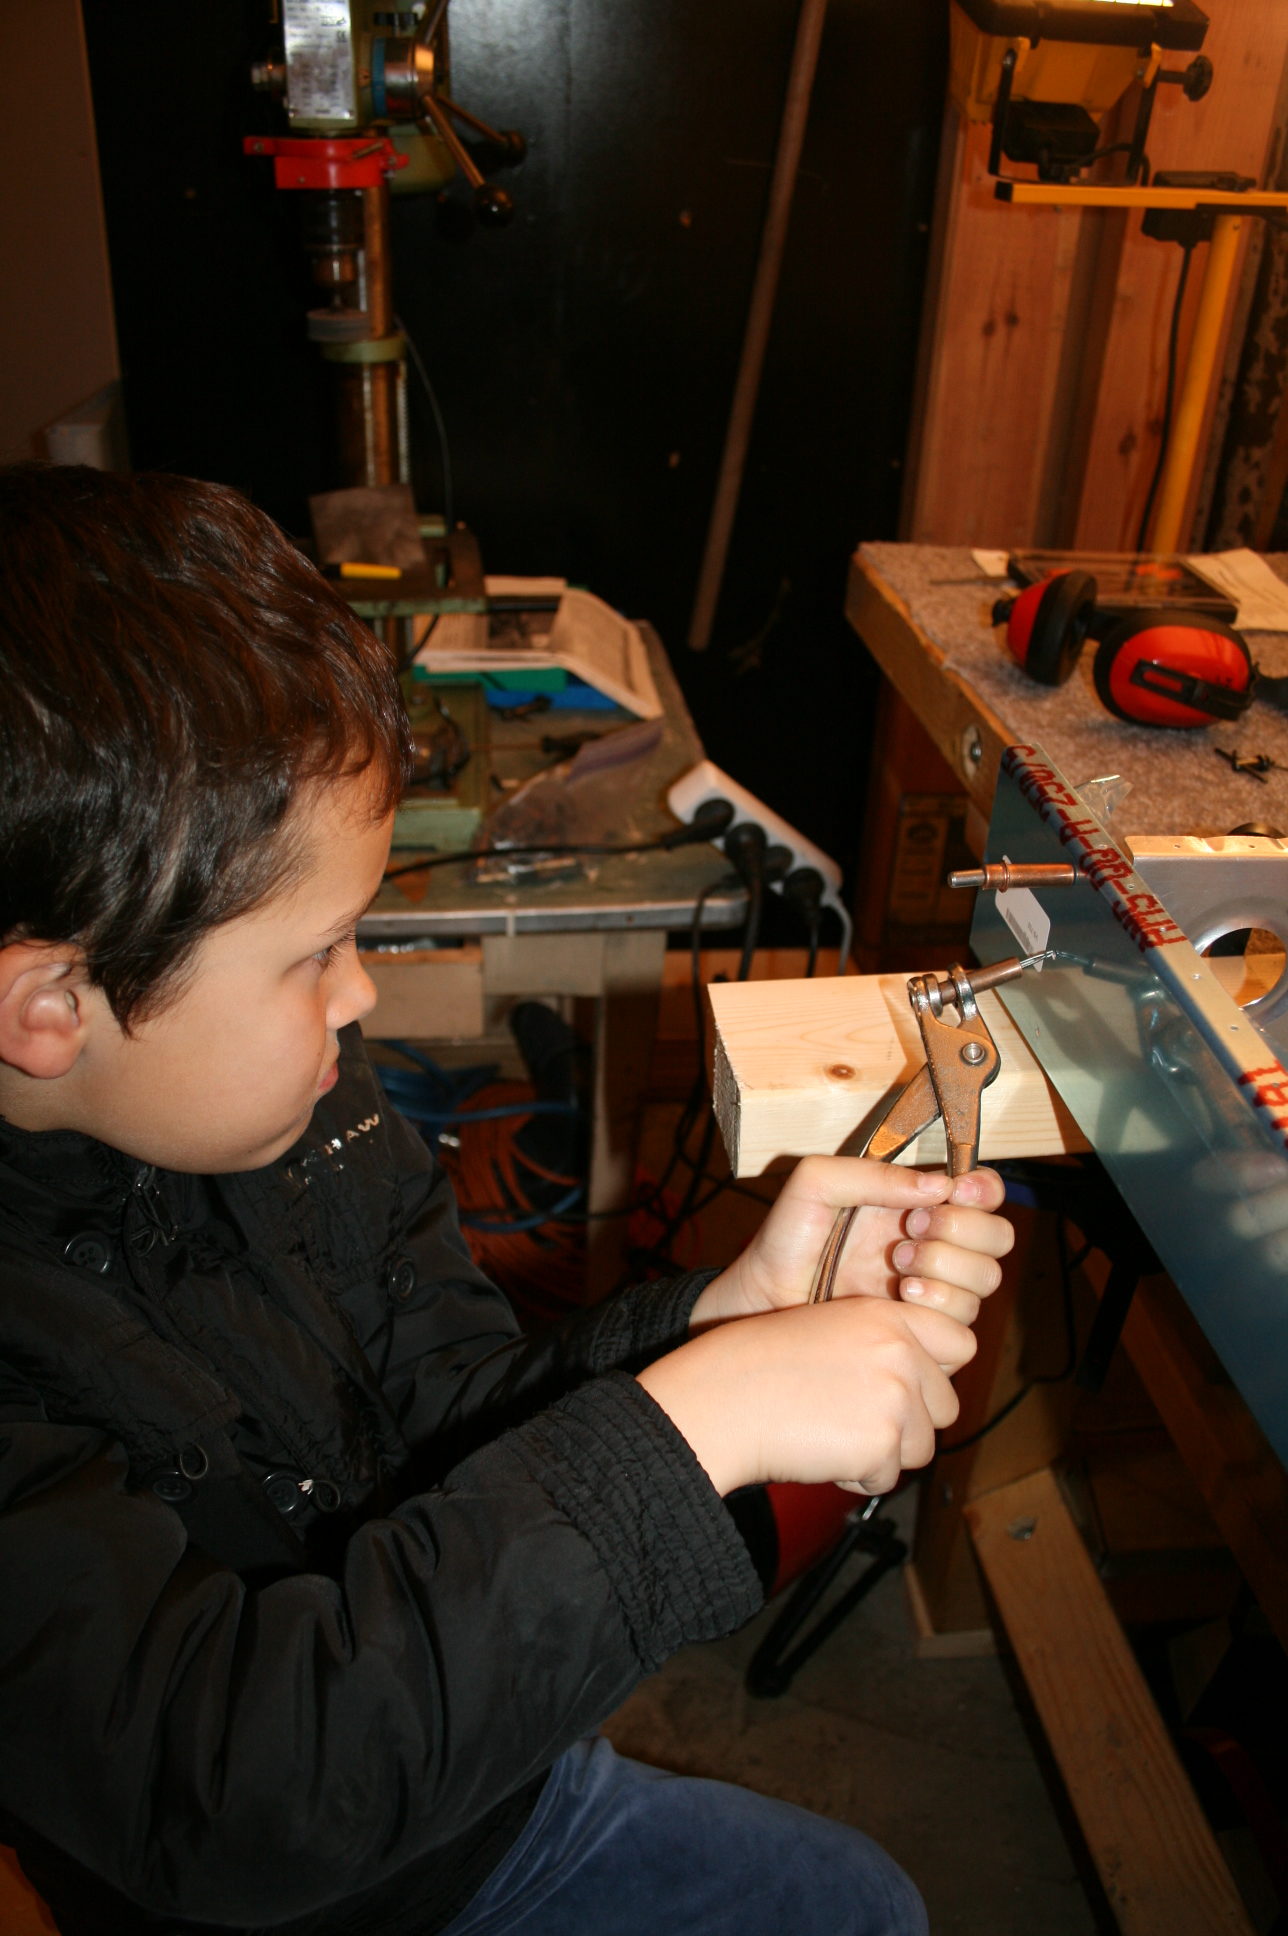
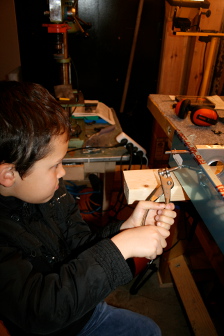
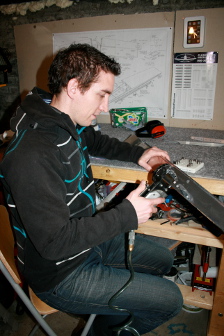
Deburring and flutting then assembly spars and ribs ( my son gave me a hand :-))
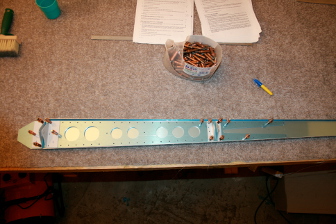
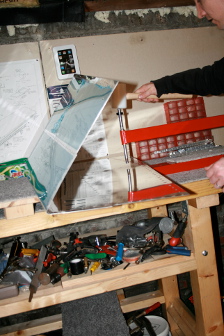
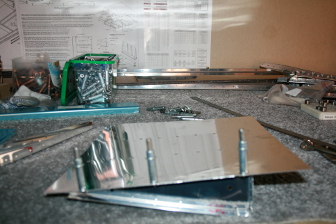
Here is the result
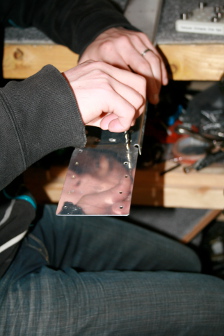
After assembling the skeleton of the vertical ruder with clecos, the holes are drilled with drill bit size # 30 .
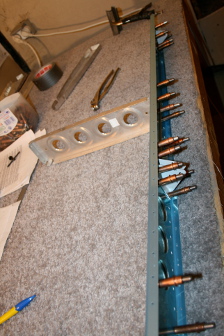
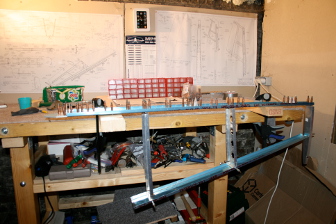
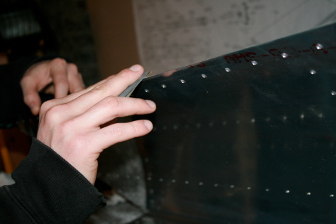
Next step : deburring all parts + assembly of the skin.
Goal: Prevent cracks related to repeated vibrations during all phases of flight (taxiing , flying, landing , aerobatics).
Each part of the skeleton of the horizontal stabilizer is inspected :
– Scratches are polished with sandpaper (weight 400)
– Each hole is trimmed using a specific tool in the beginning, then I used a drill bit = > Easier and good results,
– The edges are filed down (to remove traces related to the manufacturing process) and sandpapered
– The corners are rounded,
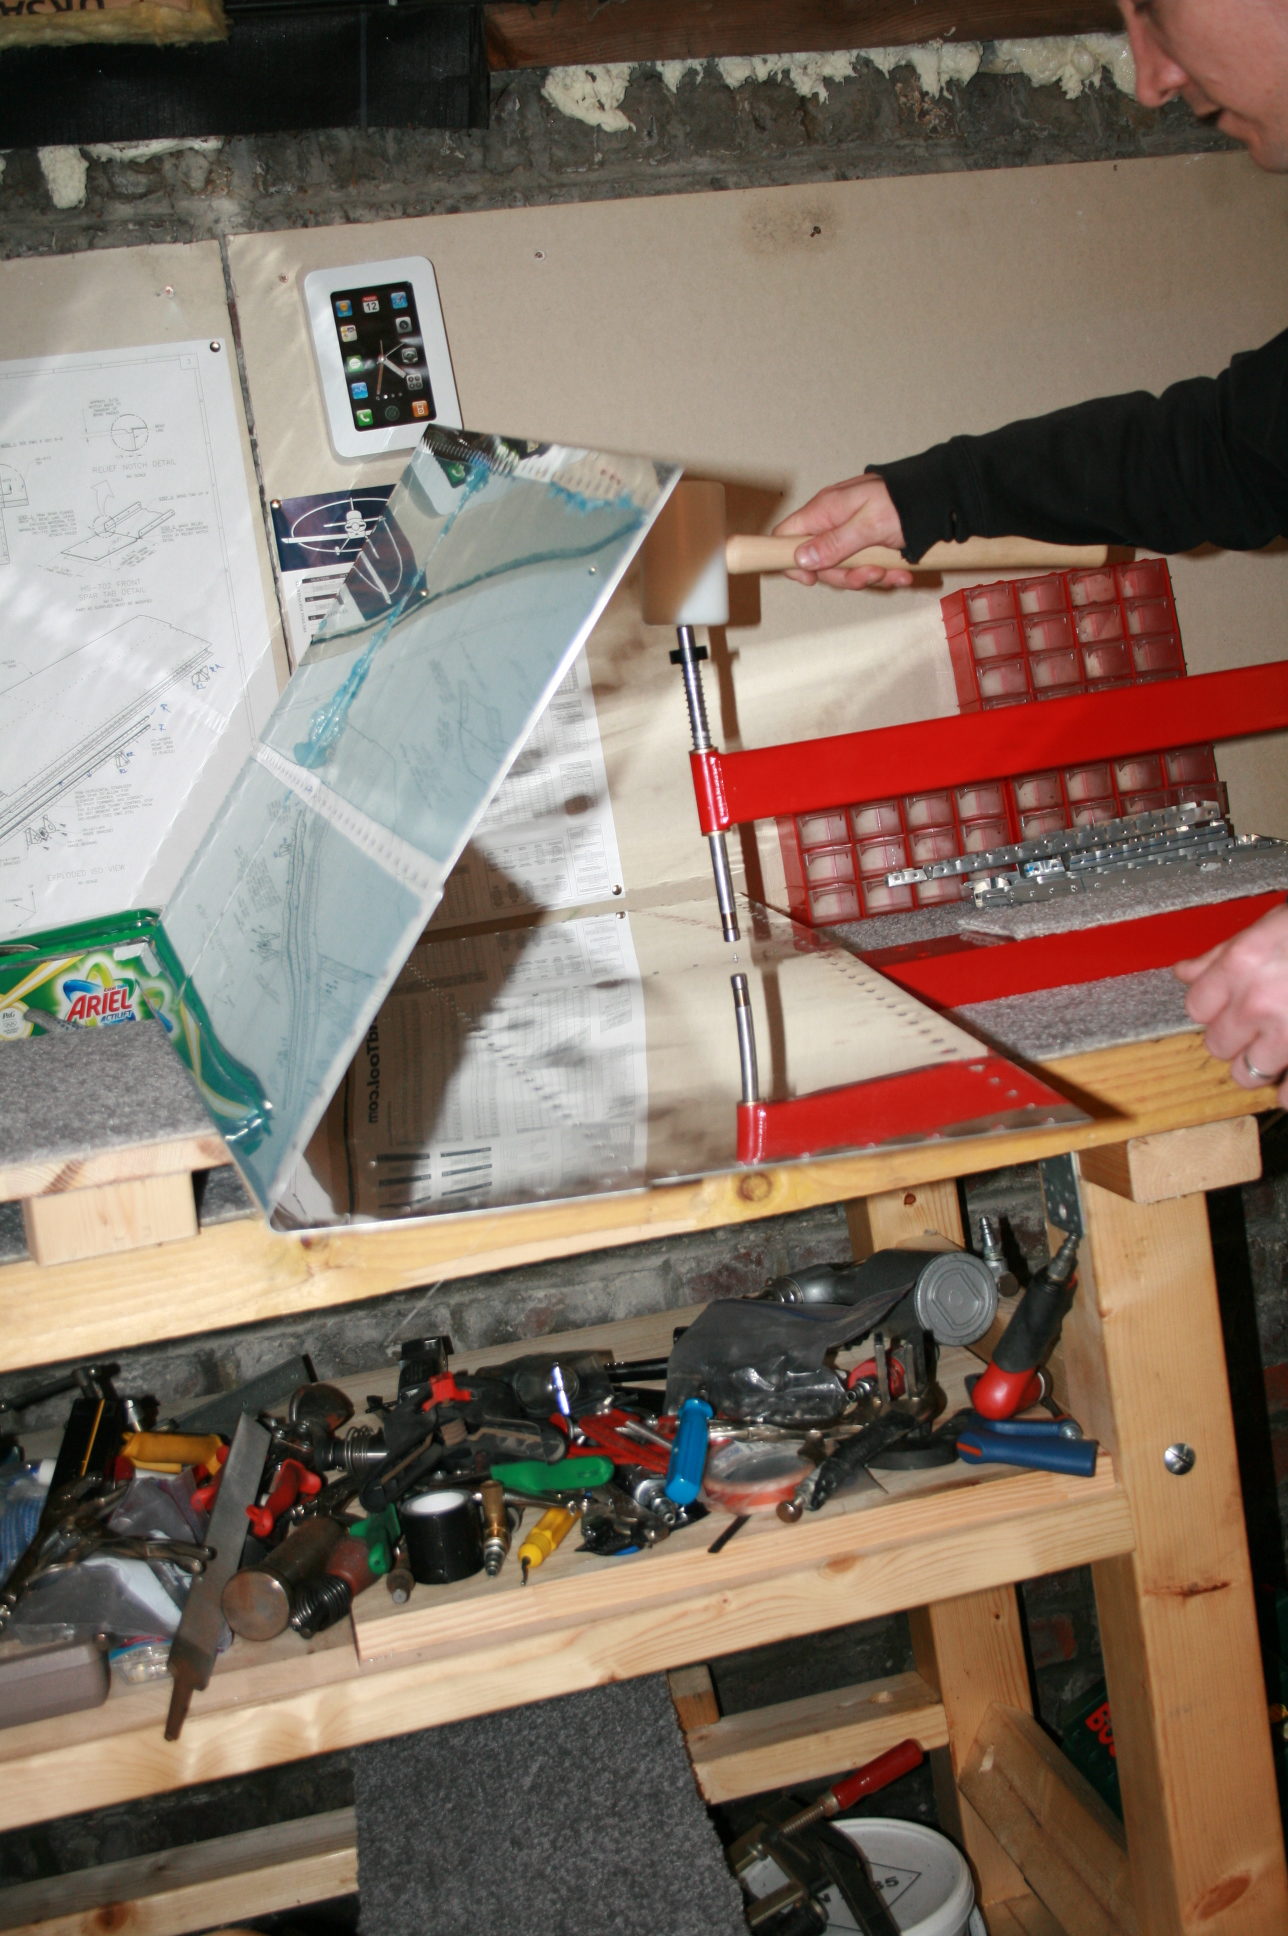
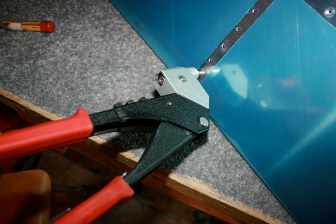
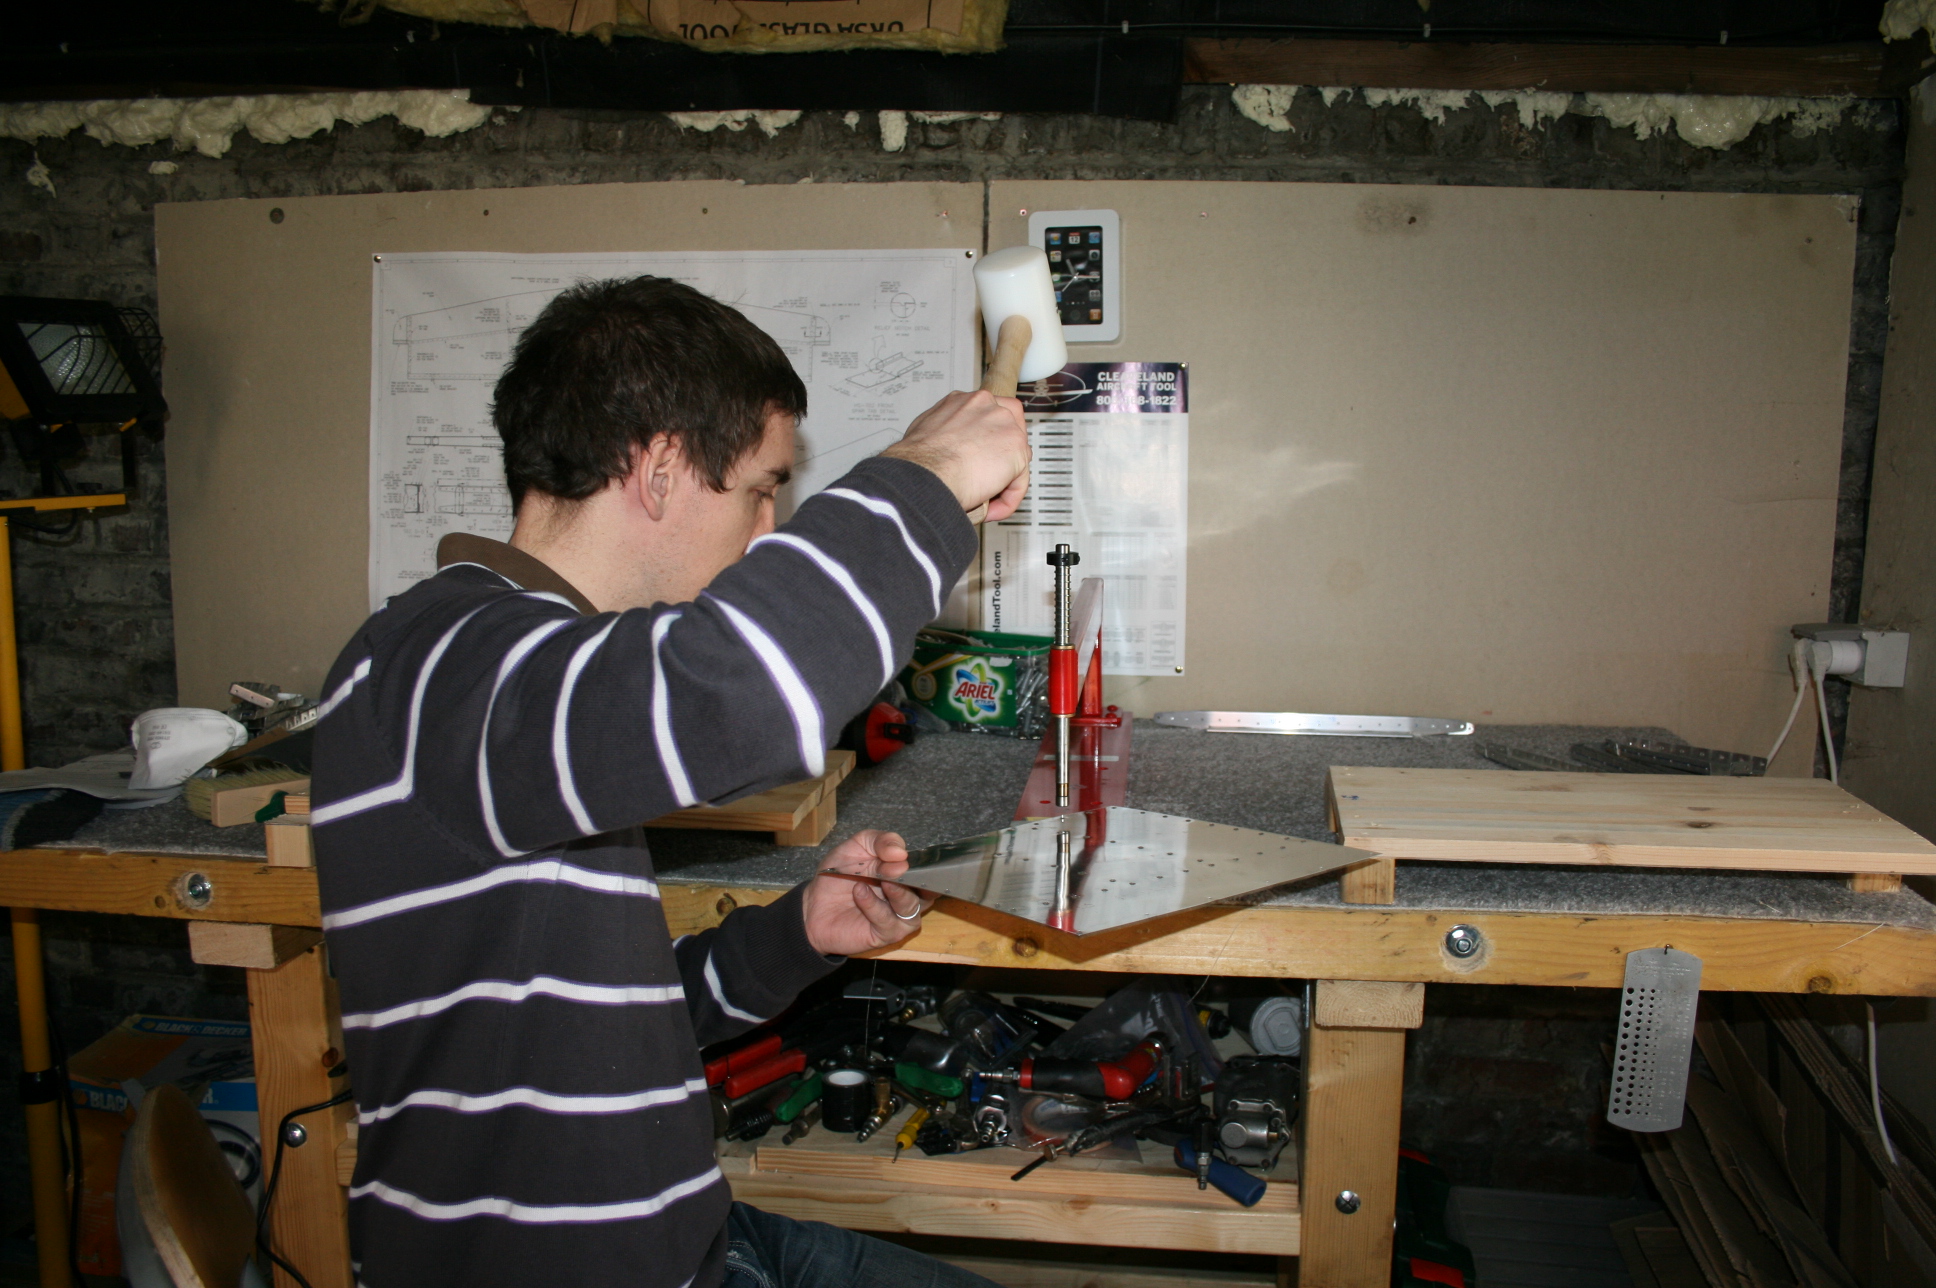
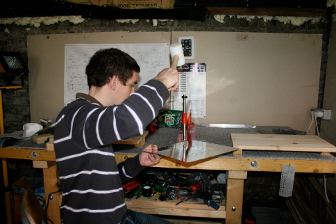
– Where necessary, each hole is dimpled (so that the rivet is flush with the skin) :
With the pneumatic squeezer for parts of the skeleton
With the C-Frame for the skins
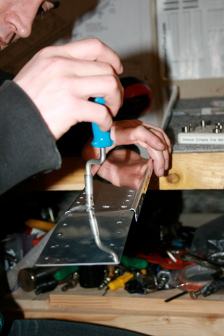
With manual riveter for holes near the leading edge of the horizontal stabilizer
This process is quite long and tedious but absolutely necessary for the longevity of the aircraft.
Now, all parts of the horizontal stabilizer are prepared for the priming process ( Diatex ) .
Second training kit : RV training project
This kit learned me, more than the previous kit, cutting stiffeners wings, finishes folding aluminum…
I decided to put on this kit anticorrosion primer to train me with the painting gun (never used).
Then I will let this kit outside, exposed to weather of Northern France to see the evolution of the holding of the primarer and aluminum.
Next : when I will primer the kit and the empennage.