Riveting the skin of the horizontal stabilizer does not happen as the skeleton.
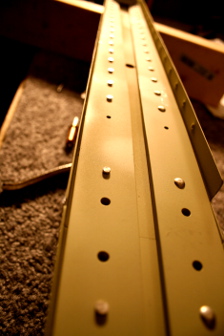
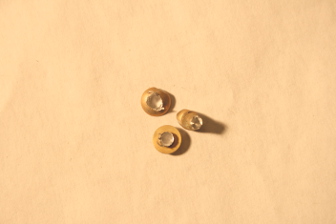
The rivets of the skeleton are rounded heads, those of the skin are flush rivets to reduce drag in flight.
The rules are :
1. Apply enough pressure on the head of the rivet holding the rivet gun perpendicular to the skin (not too much pressure otherwise: smiley risk)
2. Apply the weight on the rivet tail without damaging the skeleton and without ripper and holding the weight at the tail perpendicularly
3. Trigger the gun, not too long …
Tip : Practice before on the training kit … it is not obvious at first but after 15/30 rivets, one learns to be determined quickly.
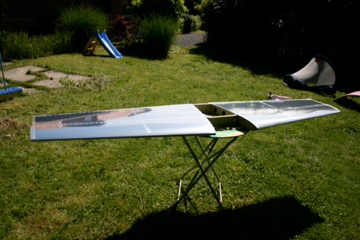
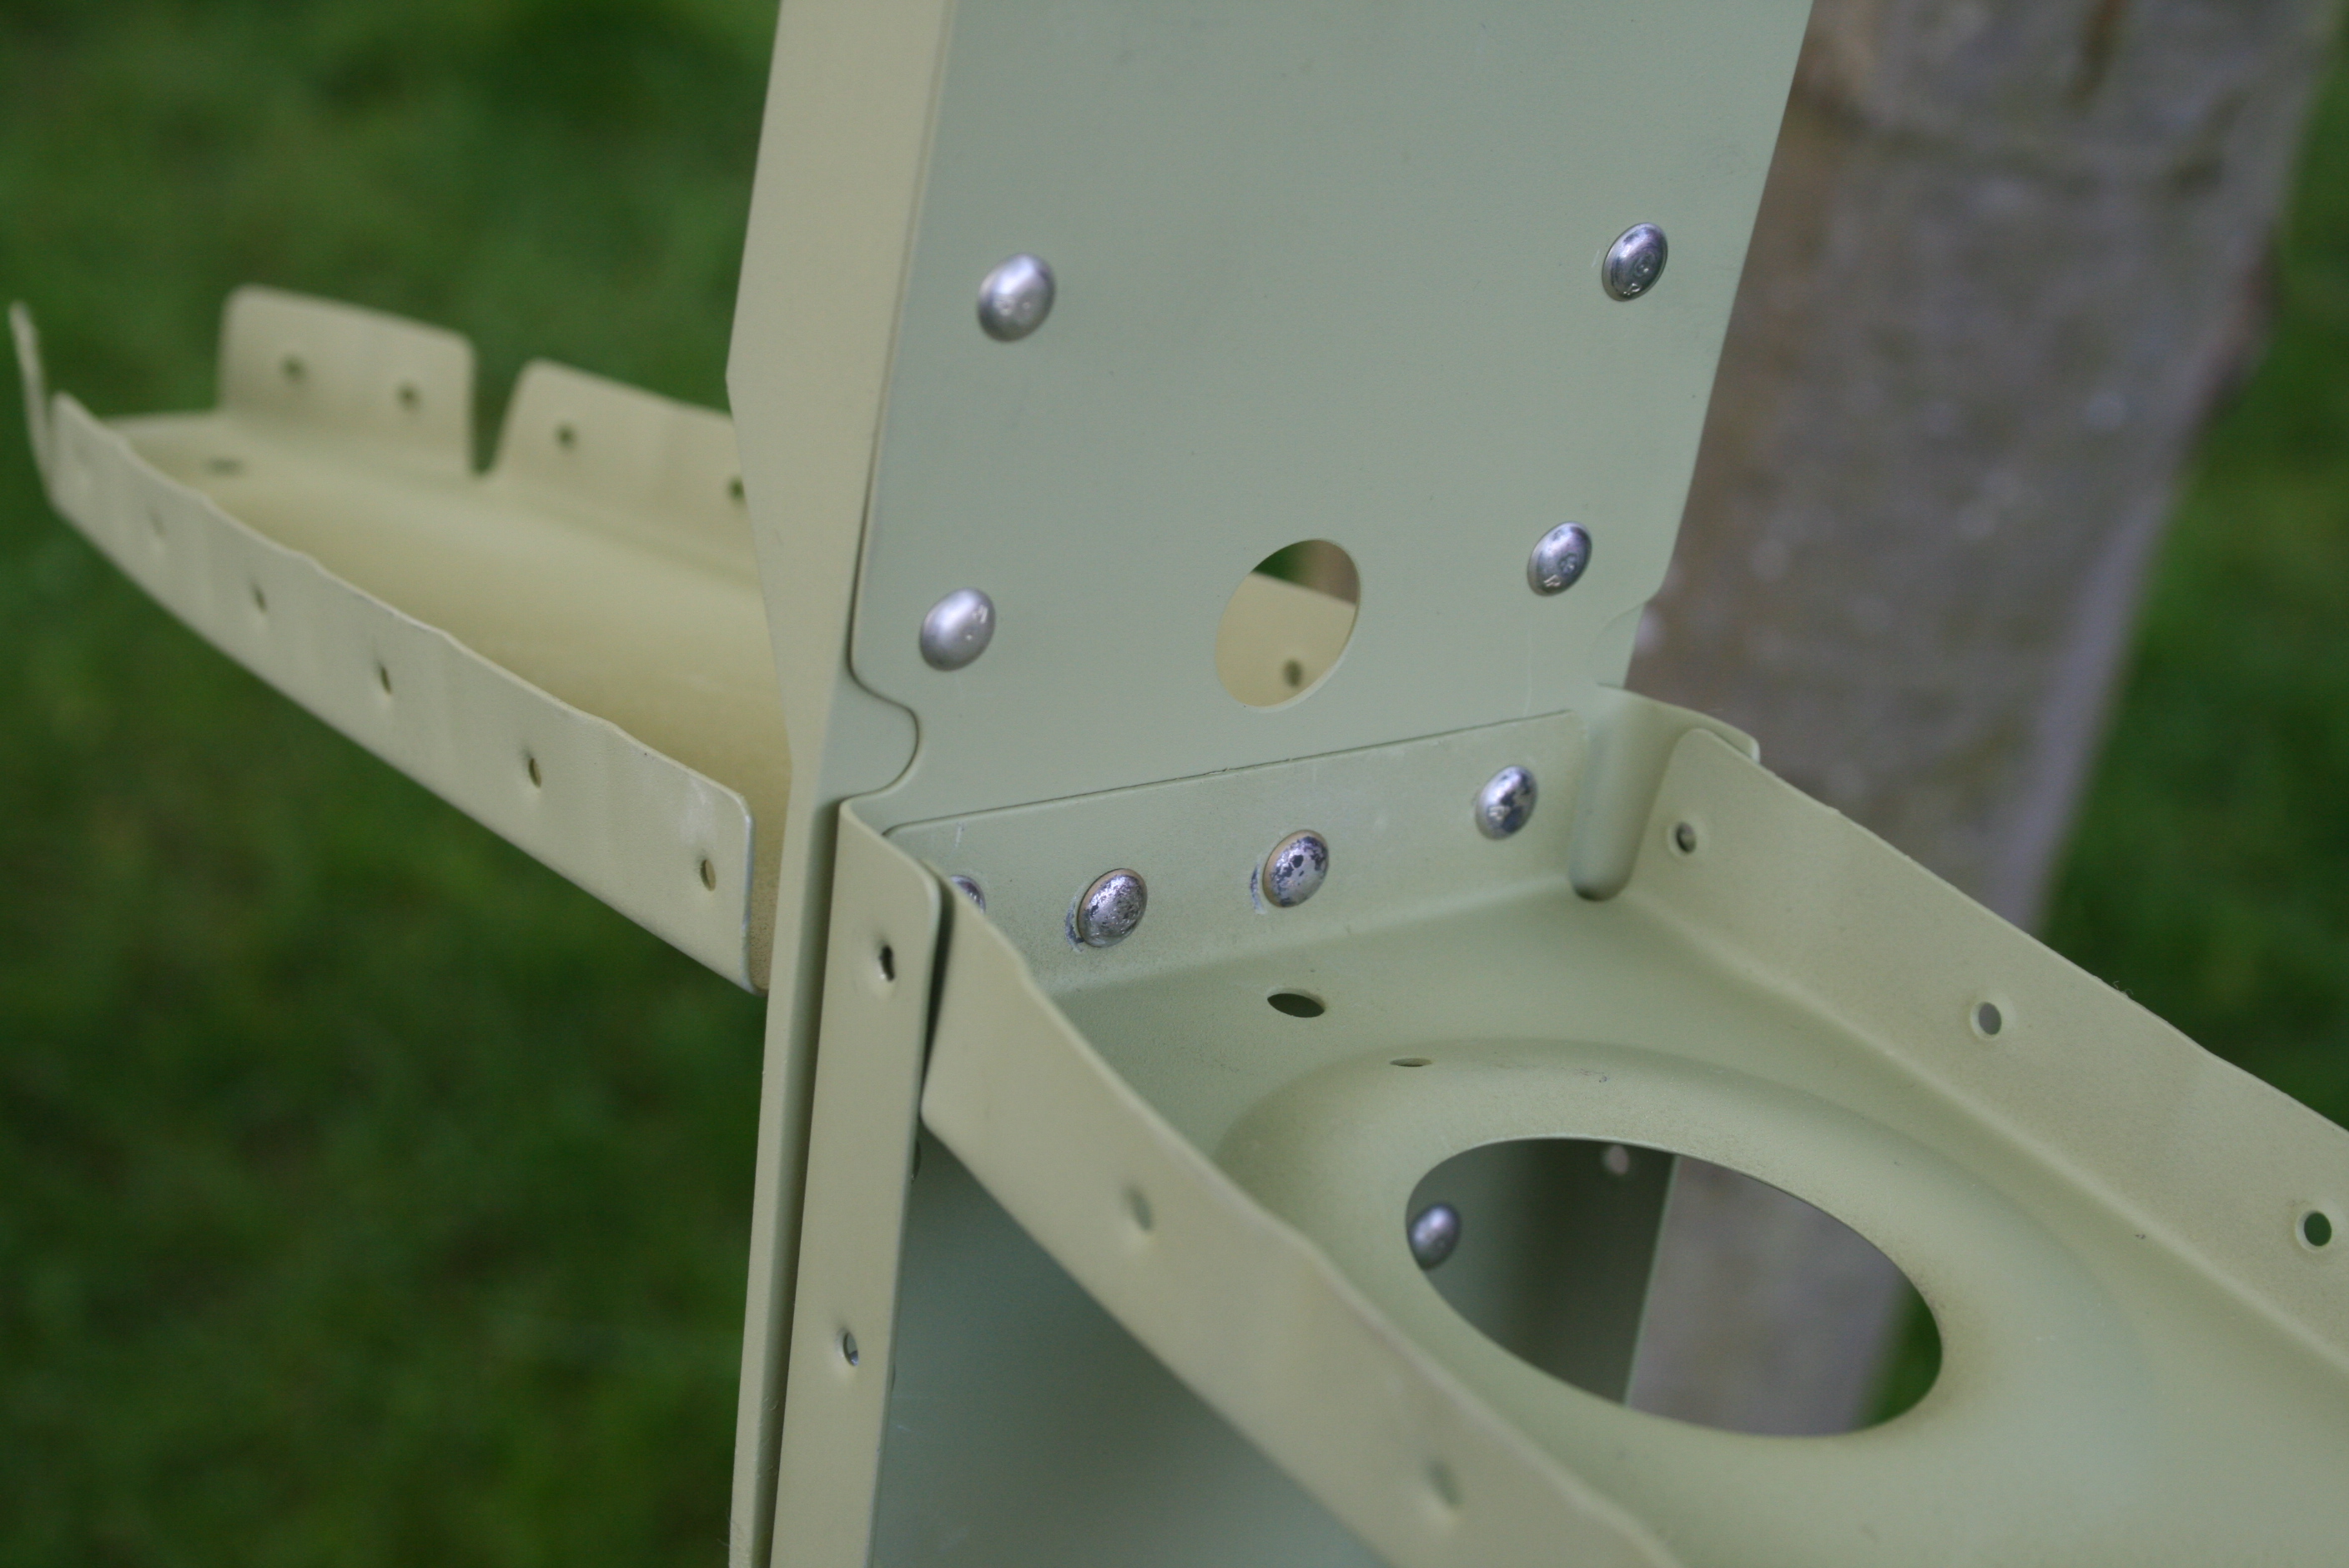
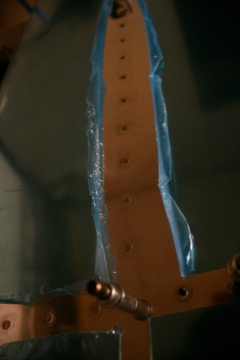
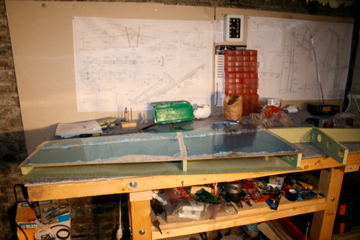
Riveting first ribRiveting the left side
Riveting the right side
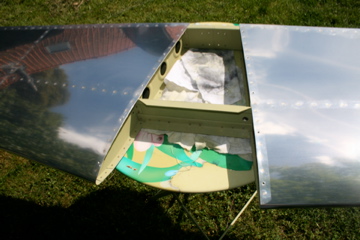
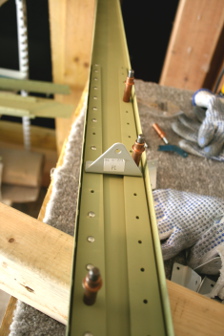
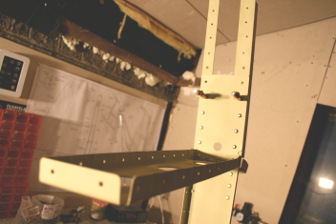
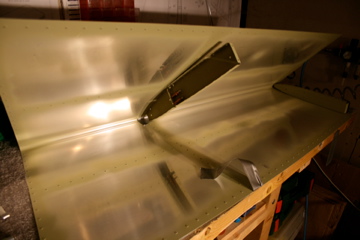
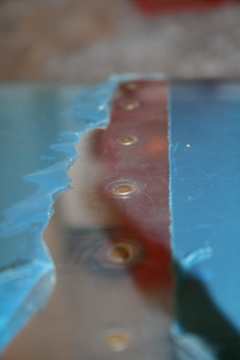
Adding the rear spar
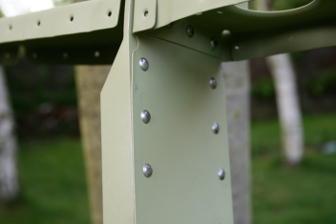
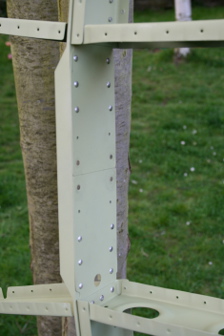
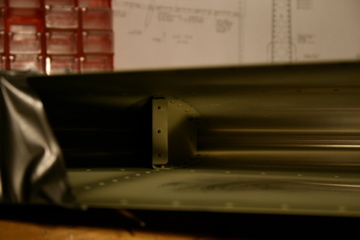
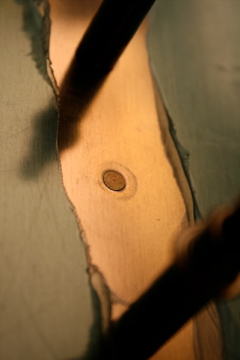
Details of the rear spar rivets attached to the skin
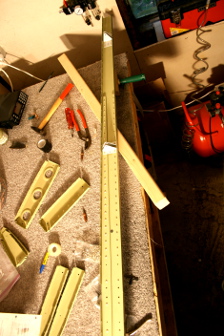
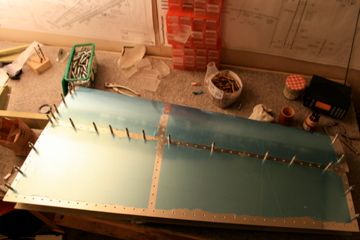
The result
Horizontal stabilizer will be stored before painting, it will be attached to the fuselage.
Once primer work done, parts of the horizontal stabilizer are collected (even with the engraver, not so easy to see the letters !).
The assembly is again clecoed then riveted using several tools according to accessibility.
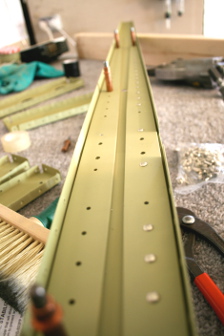
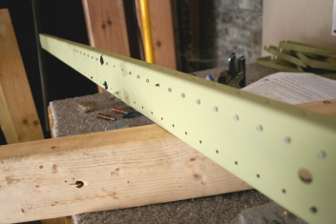
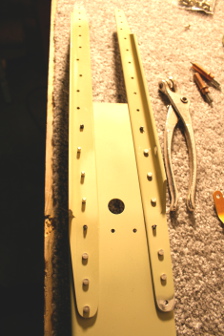
Rear spar
First piece riveted to the rivet gun (part of the rear spar)
After, it is easy
Lesson learned
The round-headed rivet may be put on the two sides of the workpiece .
I started to put those rivets heads toward the reinforcement bar and thus crush the rivet on the side of the thinnest part.
Having asked Manu (Happy builder of a RV- 7) , he told me that the rivet heads always put the most fragile side for obvious reasons of strength.
So I left the rivets in place on the first length ( the “bad” side) and put the rivets on the right side on the second length . No importance , but it is a question of aviation construction standards.
A principle to remember for the rest of the construction.
Here is the result for the rear spare
Front spare
Most part of the front spar rivets are not rivetables with pliers or pneumatic tool.
The proper tool is rivet gun, its different tips and bucking bars.
Not obvious, a little apprehension but in one evening, everything is all alone !
Here is the result
Well, some rivets had to be drilled out.
Lesson learned
For beginners like me : hold the pneumatic squeezer well perpendicular to the longeron, rivets will be even more rights.
The principle is : having to remove the least amount of rivets ! Each of these operations can dammage the hole of the part … so better to take 3 minutes to rivet rather than waiting three weeks the damaged part …
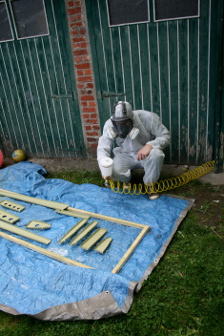
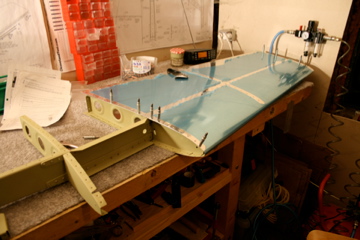
Finally, time to set primer : 15 ° C minimum, no wind.
I do not have a paint cabine … I am setting out primary with a tarp on the ground to prevent dust lift.
The product is a primer from Diatex (see (cf. Anti-corrosion dilem).
It applied with a spray gun connected to the compressor with filtered air (dust, oil) and dry => A first for me … and a good workout for the future realization of the painting of the aircraft !
Required: Combination + full face mask with filters that go.
No difficulties.


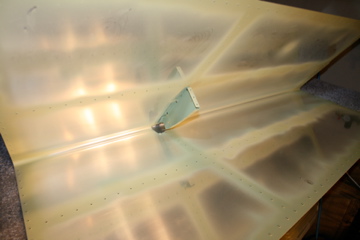 Riveting first rib
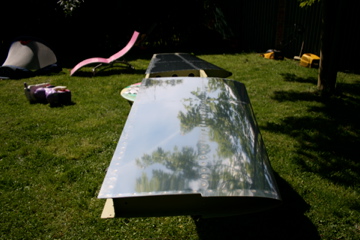
 Riveting the left side
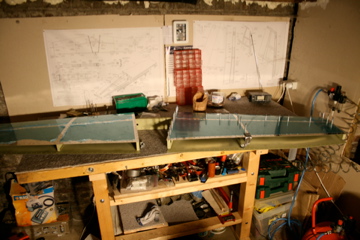 Riveting the right side
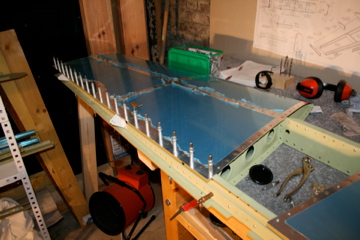 Adding the rear spar
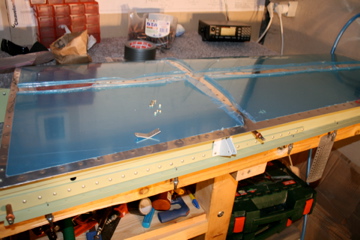
 Details of the rear spar rivets attached to the skin