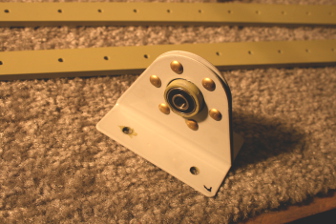
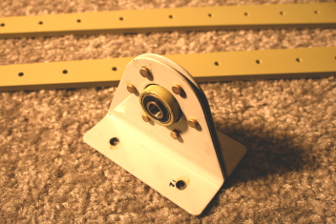
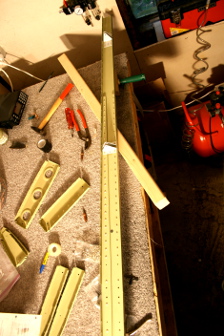
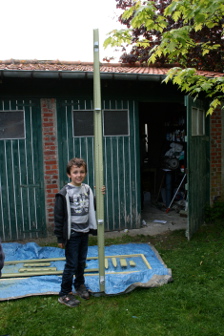
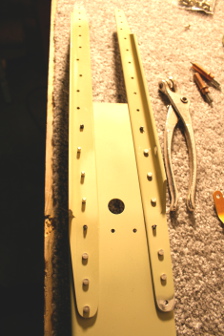
Once primer work done, parts of the horizontal stabilizer are collected (even with the engraver, not so easy to see the letters !).
The assembly is again clecoed then riveted using several tools according to accessibility.
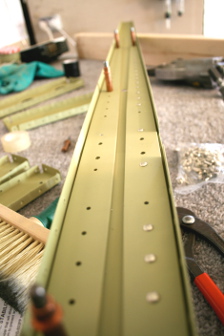
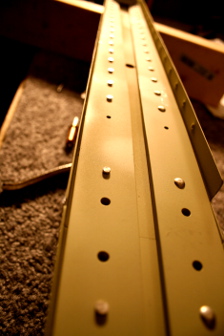
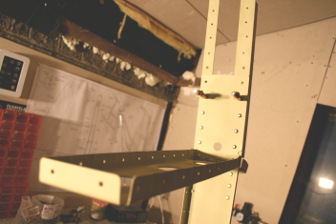
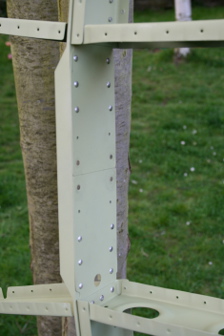
Rear spar
First piece riveted to the rivet gun (part of the rear spar)
After, it is easy
Lesson learned
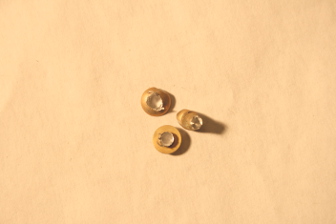
The round-headed rivet may be put on the two sides of the workpiece .
I started to put those rivets heads toward the reinforcement bar and thus crush the rivet on the side of the thinnest part.
Having asked Manu (Happy builder of a RV- 7) , he told me that the rivet heads always put the most fragile side for obvious reasons of strength.
So I left the rivets in place on the first length ( the “bad” side) and put the rivets on the right side on the second length . No importance , but it is a question of aviation construction standards.
A principle to remember for the rest of the construction.
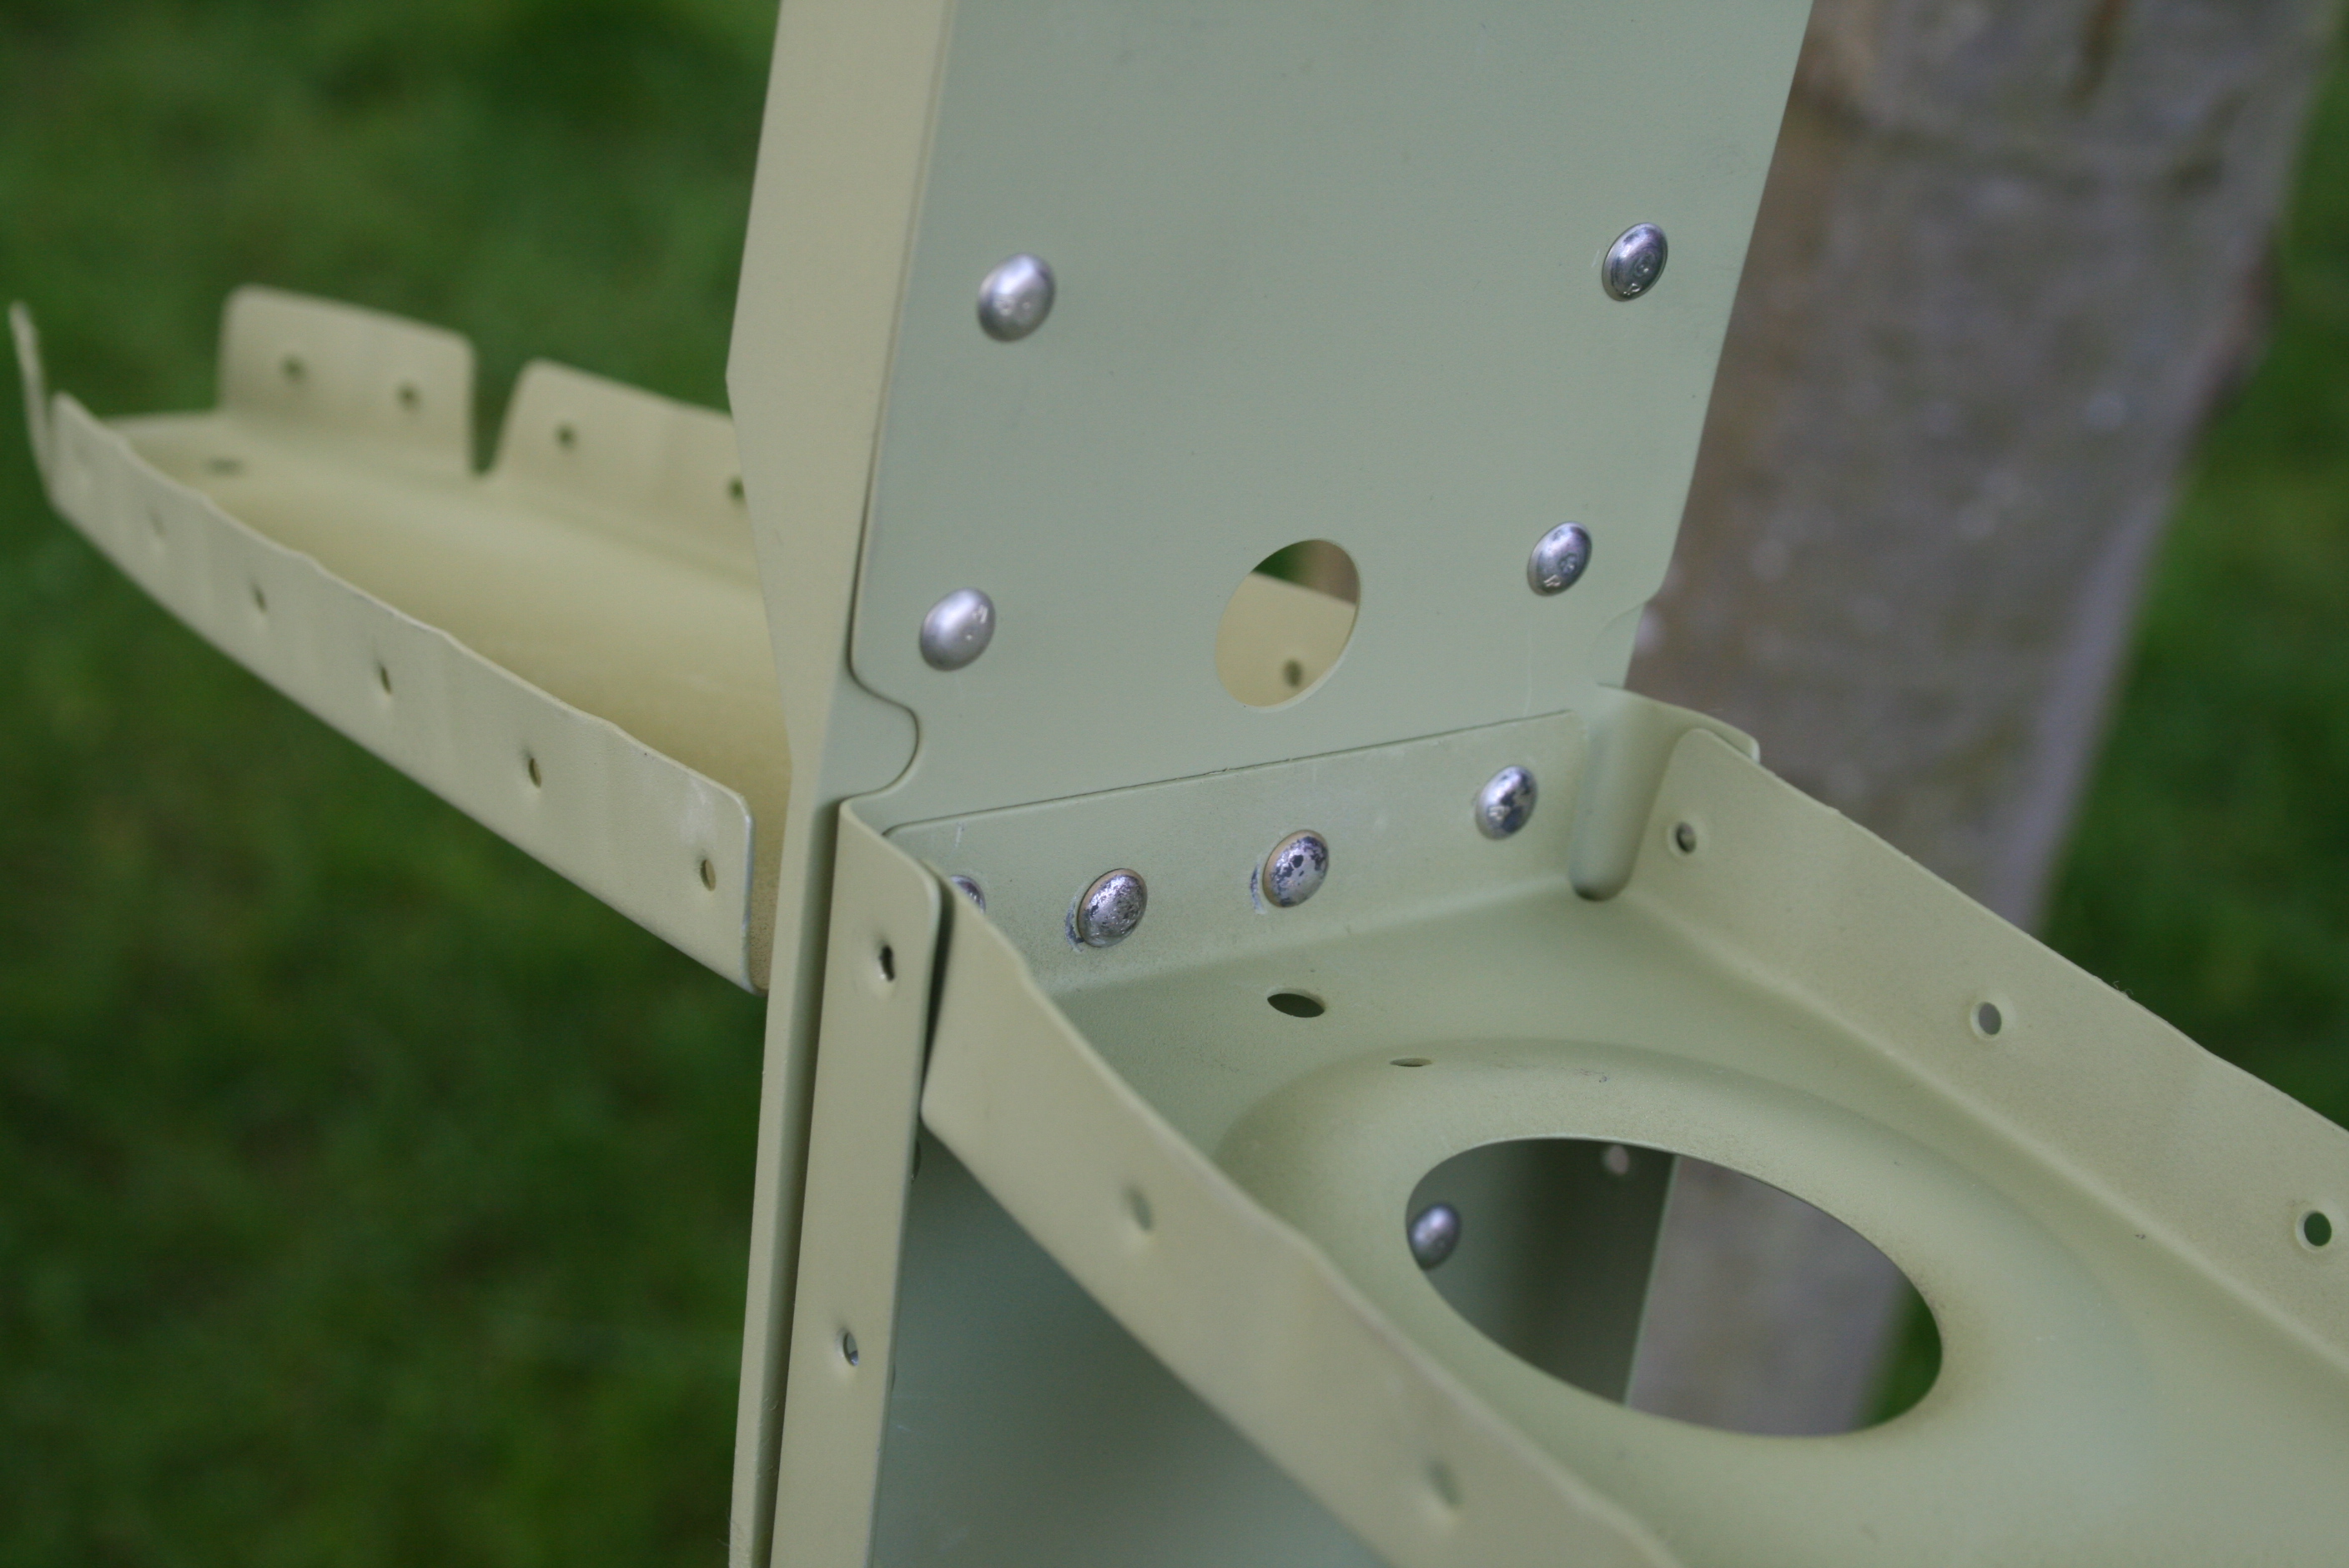
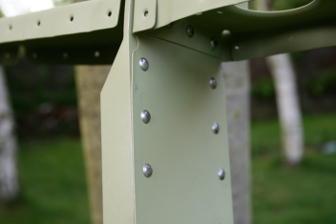
Here is the result for the rear spare
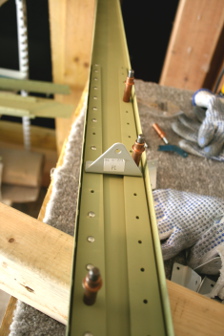
Front spare
Most part of the front spar rivets are not rivetables with pliers or pneumatic tool.
The proper tool is rivet gun, its different tips and bucking bars.
Not obvious, a little apprehension but in one evening, everything is all alone !
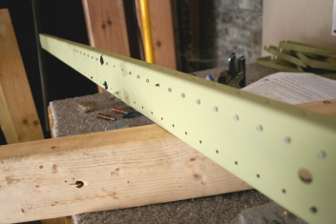
Here is the result
Well, some rivets had to be drilled out.
Lesson learned
For beginners like me : hold the pneumatic squeezer well perpendicular to the longeron, rivets will be even more rights.
The principle is : having to remove the least amount of rivets ! Each of these operations can dammage the hole of the part … so better to take 3 minutes to rivet rather than waiting three weeks the damaged part …


Comments are closed.